Isuzu Rodeo UE. Service manual - part 631
EXTERIOR/INTERIOR TRIM
8J–11
825RW079
Installation
To install, follow the removal steps in the reverse order.
Power Window Motor
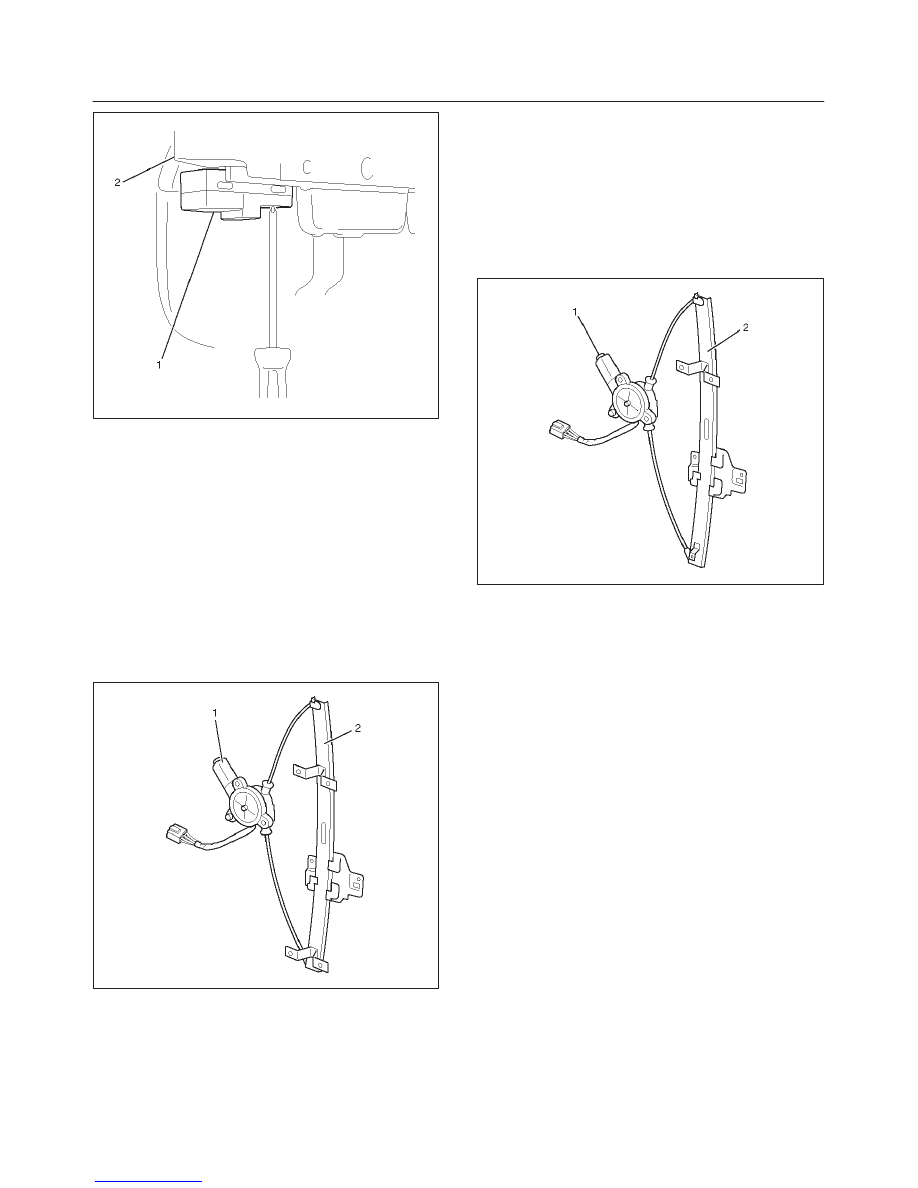
Driver Seat Side
Removal
1. Disconnect the battery ground cable.
2. Remove the window regulator assembly (2).
f
Refer to the Window Regulator and Glass removal
steps in Body Structure section.
3. Remove the power window motor (1).
f
Remove three screws.
825RW096
Installation
To install, follow the removal steps in the reverse order.
Front Passenger Seat Side
Removal and Installation
Refer to the Front Window Motor — Driver Seat side
removal and installation steps in this section.
Rear-Left Side
Removal
1. Disconnect the battery ground cable.
2. Remove the rear window regulator assembly (2).
f
Refer to the Rear Window Regulator and Glass
removal steps in Body Structure section.
3. Remove the power window motor (1).
f
Remove three screws.
825RW095
Installation
To install, follow the removal steps in the reverse order.
Rear-Right Side
Removal and Installation
Refer to the Rear Power Window Motor — Left Side
removal and installation steps in this section.