Mercury Tracer (1998 year). Instruction - part 9
Ford production and aftermarket
(Motorcraft) oil filters are designed
for added engine protection and
long life. If a replacement oil filter
is used that does not meet Ford
material and design specifications,
startup engine noises or knock
may be experienced.
It is recommended you use the
appropriate Motorcraft oil filter (or
another brand meeting Ford
specifications) for your engine
application.
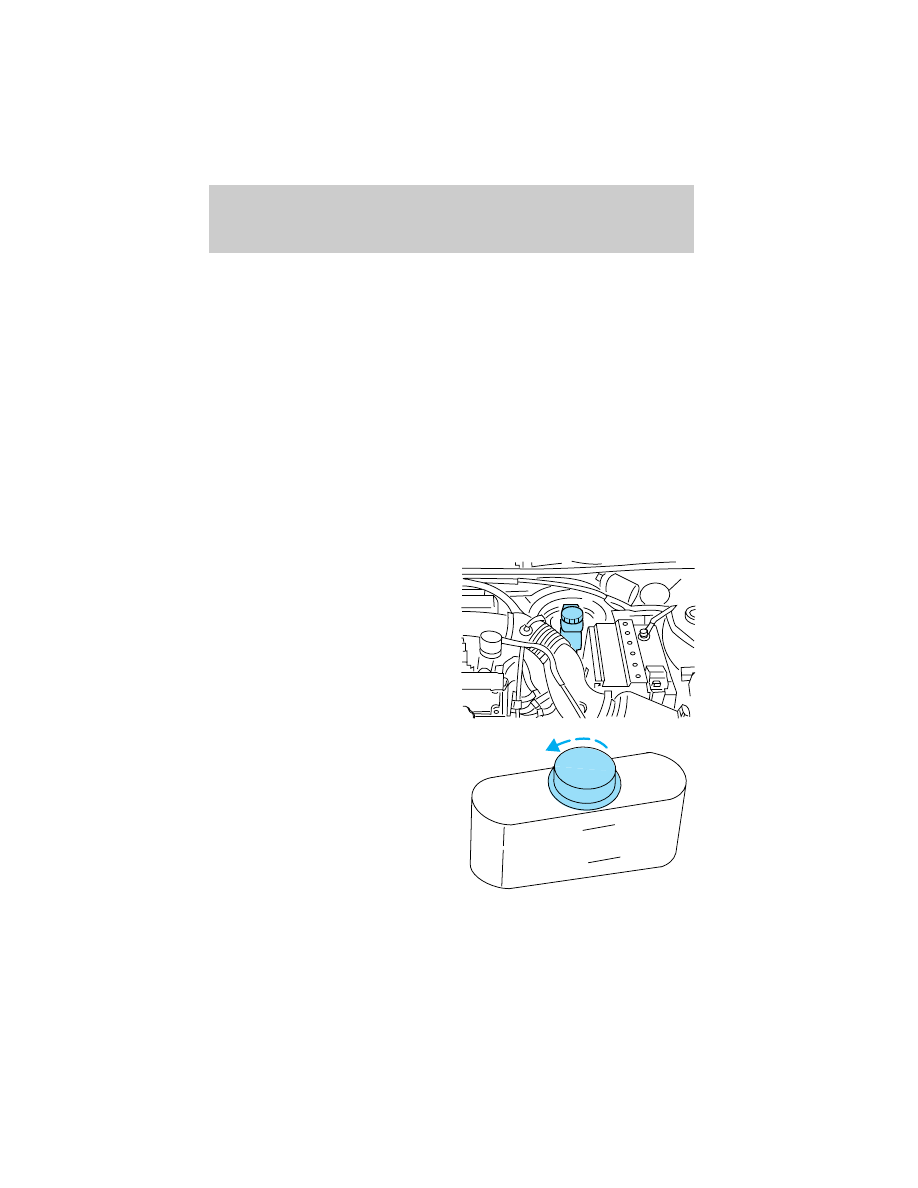
BRAKE FLUID
Checking and adding brake
fluid
Brake fluid should be checked and
refilled as needed at least once
each year:
• Clean the reservoir cap before
removal to prevent dirt or water
from entering the reservoir.
• Visually inspect the fluid level.
• If necessary, add brake fluid
until the level reaches MAX. Do
not fill above this line.
• Use only a DOT 3 brake fluid
certified to meet Ford
specifications. Refer to
Lubricant specifications in the
Capacities and specifications
chapter.
MAX
MIN
Maintenance and care
129