Mercury Tracer (1998 year). Instruction - part 5
Attaching safety seats with tether
straps.
Carefully follow all of the
manufacturer’s instructions
included with the safety seat you
put in your vehicle. If you do not
install and use the safety seat
properly, the child may be
injured in a sudden stop or
collision.
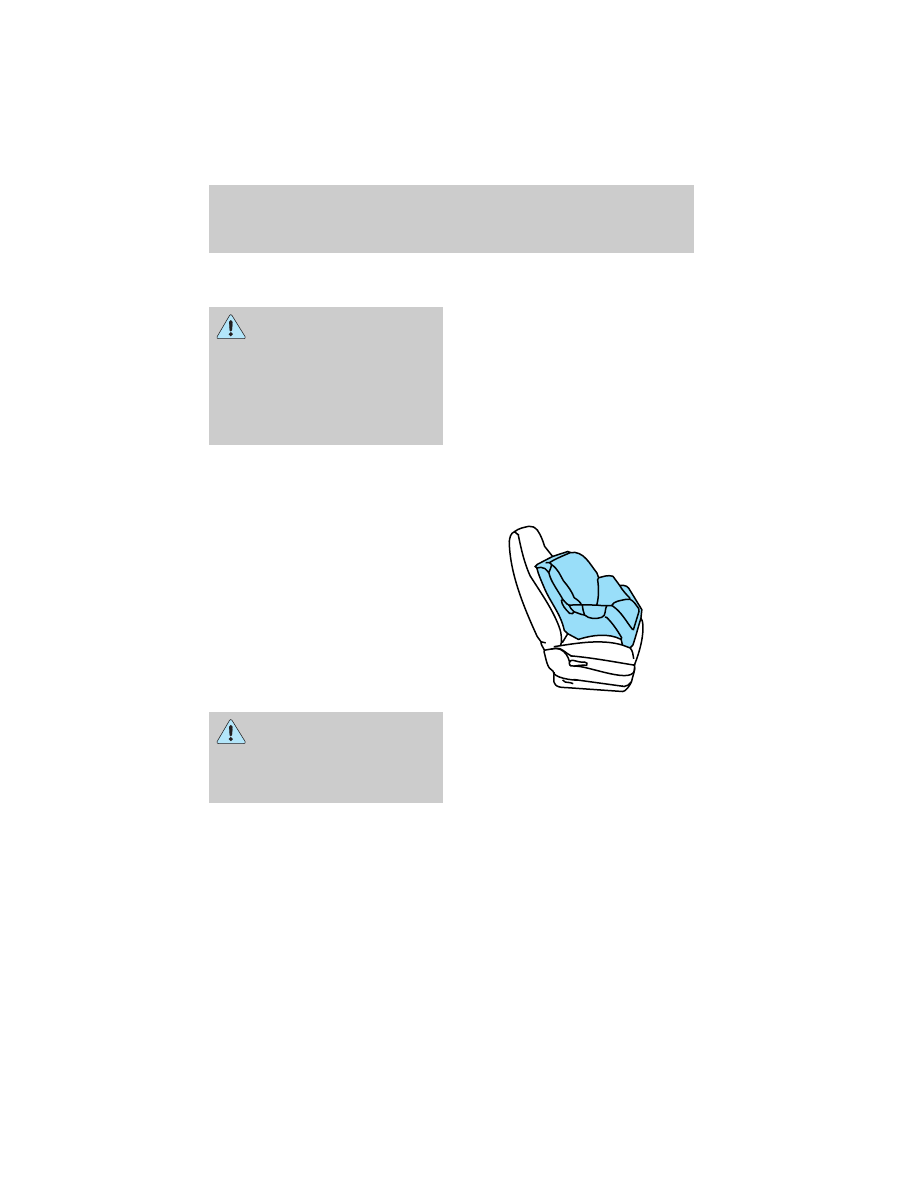
Installing child safety seats in
combination lap and shoulder
belt seating positions
1. Position the child safety seat in
a seat with a combination lap and
shoulder belt.
Air bag can kill or injure a
child in a child seat. If you
must use a forward-facing child
seat in the front seat, move seat
all the way back.
Seating and safety restraints
65