Ford Fiesta (1989-1995). Manual - part 64
1595 Ford Fiesta Remake
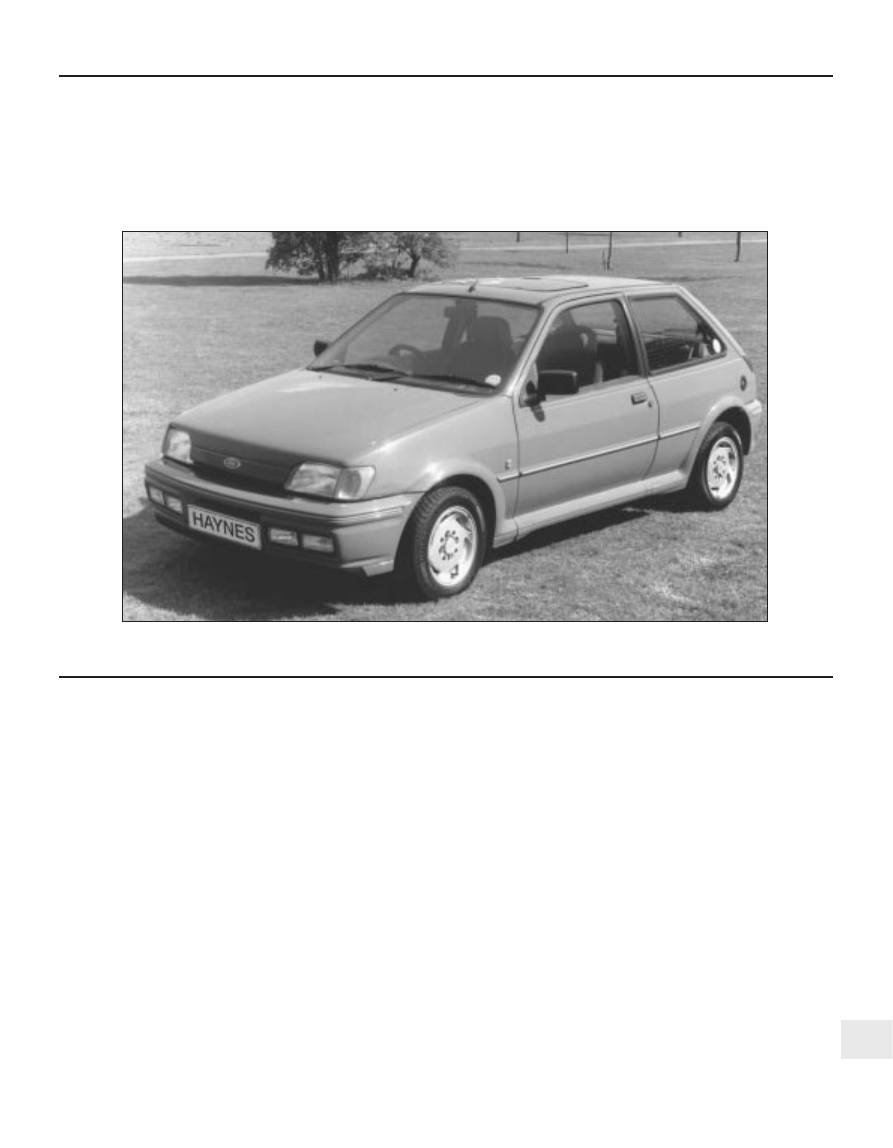
REF
Dimensions and weights
Note: All figures are approximate, and may vary according to model. Refer to manufacturer’s data for exact figures.
Dimensions
Overall length:
3/5 door hatchback models . . . . . . . . . . . . . . . . . . . . . . . . . . . . . . . .
3743 mm
XR2i, RS Turbo and RS 1800 models . . . . . . . . . . . . . . . . . . . . . . . . .
3801 mm
Courier models . . . . . . . . . . . . . . . . . . . . . . . . . . . . . . . . . . . . . . . . . .
4052 mm
Width (excluding mirrors):
3/5 door hatchback models . . . . . . . . . . . . . . . . . . . . . . . . . . . . . . . .
1606 mm
XR2i, RS Turbo and RS 1800 models . . . . . . . . . . . . . . . . . . . . . . . . .
1630 mm
Courier models . . . . . . . . . . . . . . . . . . . . . . . . . . . . . . . . . . . . . . . . . .
1650 mm
Overall height:
3/5 door hatchback models . . . . . . . . . . . . . . . . . . . . . . . . . . . . . . . .
1376 mm
XR2i, RS Turbo and RS 1800 models . . . . . . . . . . . . . . . . . . . . . . . . .
1365 mm
Courier models . . . . . . . . . . . . . . . . . . . . . . . . . . . . . . . . . . . . . . . . . .
1812 mm
Wheelbase:
Courier models . . . . . . . . . . . . . . . . . . . . . . . . . . . . . . . . . . . . . . . . . .
2700 mm
All other models . . . . . . . . . . . . . . . . . . . . . . . . . . . . . . . . . . . . . . . . .
2446 mm
Front track:
3/5 door hatchback models . . . . . . . . . . . . . . . . . . . . . . . . . . . . . . . .
1392 mm
XR2i, RS Turbo and RS 1800 models . . . . . . . . . . . . . . . . . . . . . . . . .
1406 mm
Courier models . . . . . . . . . . . . . . . . . . . . . . . . . . . . . . . . . . . . . . . . . .
1392 mm
Rear track:
3/5 door hatchback models . . . . . . . . . . . . . . . . . . . . . . . . . . . . . . . .
1384 mm
XR2i, RS Turbo and RS 1800 models . . . . . . . . . . . . . . . . . . . . . . . . .
1376 mm
Courier models . . . . . . . . . . . . . . . . . . . . . . . . . . . . . . . . . . . . . . . . . .
1395 mm
Dimensions and weights . . . . . . . . . . . . . . . .REF•1
Vehicle identification . . . . . . . . . . . . . . . . . . .REF•3
General repair procedures . . . . . . . . . . . . . .REF•4
Jacking and vehicle support . . . . . . . . . . . . .REF•5
Buying spare parts . . . . . . . . . . . . . . . . . . . .REF•5
Radio/cassette unit anti-theft system . . . . .REF•5
Conversion factors . . . . . . . . . . . . . . . . . . . .REF•6
Tools and working facilities . . . . . . . . . . . . . .REF•7
MOT test checks . . . . . . . . . . . . . . . . . . . . .REF•10
Fault finding . . . . . . . . . . . . . . . . . . . . . . . .REF•14
Glossary of technical terms . . . . . . . . . . . .REF•22
Index . . . . . . . . . . . . . . . . . . . . . . . . . . . . . .REF•27
Reference
REF•1