Citroen C5 (2017 year). Manual - part 3
1
Instruments
31
C5_en_Chap01_instruments-bord_ed01-2016
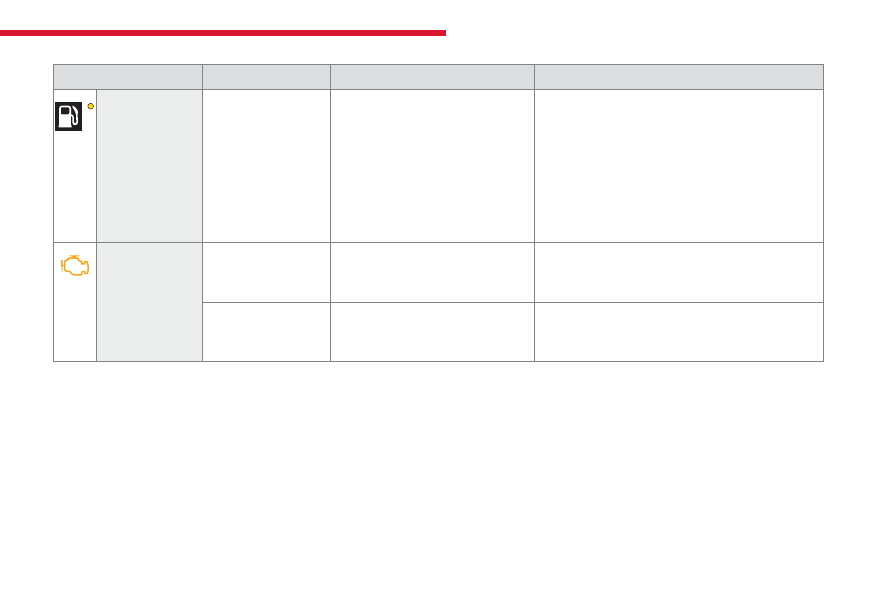
Warning/indicator lamp
is on
Cause
Action / Observations
Engine
autodiagnosis
system
fixed.
The emission control system has a
fault.
The warning lamp should go off when the engine is started.
If it does not go off, contact a CITROËN dealer or qualified
workshop without delay.
flashing.
The engine management system has
a fault.
Risk of destruction of the catalytic converter.
Have it checked by a CITROËN dealer or a qualified
workshop.
Low fuel
level
fixed.
When it first comes on there remains
approximately 5 litres of fuel in the
tank.
You must refuel as soon as possible to avoid running
out of fuel.
This warning lamp wil come on every time the ignition
is switched on, until a sufficient addition of fuel is
made.
Fuel tank capacity: 71 litres.
Never continue to drive until you run out of fuel, this
could damage the emission control and injection
systems.