BMW 3.0si Roadster & Coupe (2006 year). Manual - part 2
Opening and closing
28
Before closing the convertible top, remove any
objects from the windshield frame that other-
wise could prevent the convertible top from
closing properly.
<
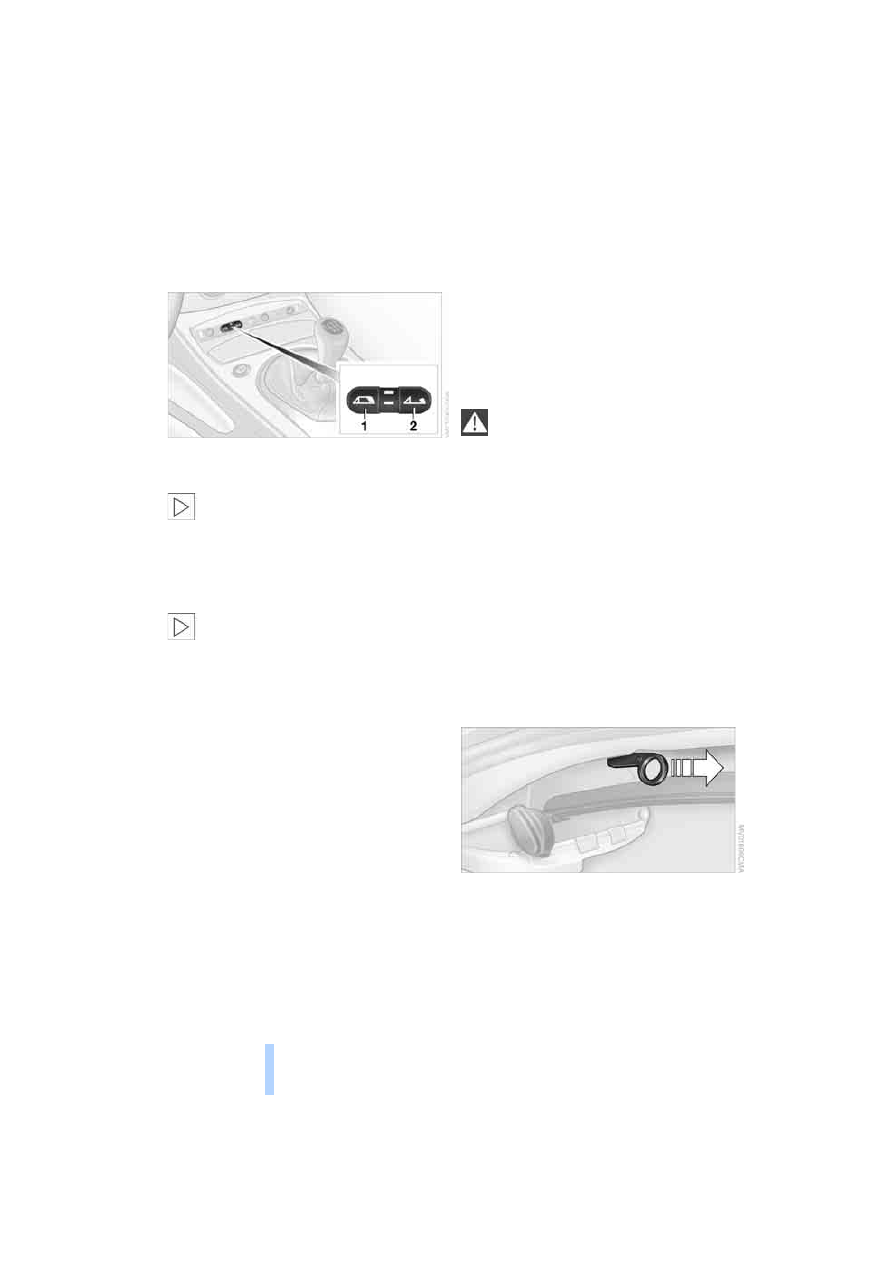
1 Closing
2 Opening
The side windows will move down slightly
when you press the button for operating
the convertible top.
After the opening or closing operation, the win-
dows will move back up if you press the button
for more than 2 seconds after the LED has gone
out.
<
When the convertible top has been stored
in the convertible top compartment for an
extended period of time, e.g. in the winter
months because the hardtop was being used,
you may have to support the convertible top by
hand when closing it for the first time. If the con-
vertible top stops right before the closing phase
is completed, press against the front part of the
convertible top frame from the outside to help
the closing process along. Keep pressing the
button while doing so until the top starts mov-
ing on its own again.
<
Indicator lamps
>
The red LED in the button is lit while the
convertible top is in motion. It goes out as
soon as the opening or closing operation
has been completed.
>
If the red LED in the button flashes after the
button has been released, then the opening
or closing operation has not yet been com-
pleted.
The movement can be continued in the
desired direction by pressing this button.
>
If the yellow LED in the button comes on
when the button is pressed, the convertible
top compartment panel in the cargo bay has
been folded up. The convertible top cannot
be moved.
Interruption
The automatic sequence will be interrupted
immediately if you release the button that oper-
ates the top. The sequence can be continued in
the desired direction by pressing this button.
Do not close the side windows using the
power window buttons before the closing
procedure has been completed. Otherwise the
side windows may not close properly against
the rubber seal of the convertible top.
<
Convenience operation
Remote control
Refer to page
19
.
Driver's door
Refer to page
To close manually in the event of a
malfunction
1.
Pull out the handle in the cargo bay as far as
it will go.
2.
Turn the handle 90° until it engages.
3.
Pull on the cord in the cargo bay trim panel.
The storage compartment and thus the but-
ton for the convertible top release between
Online Edition for Part-No. 01 41 0 012 083 - © 04/06 BMW AG