Dodge Dart (2016 year). Instruction - part 18
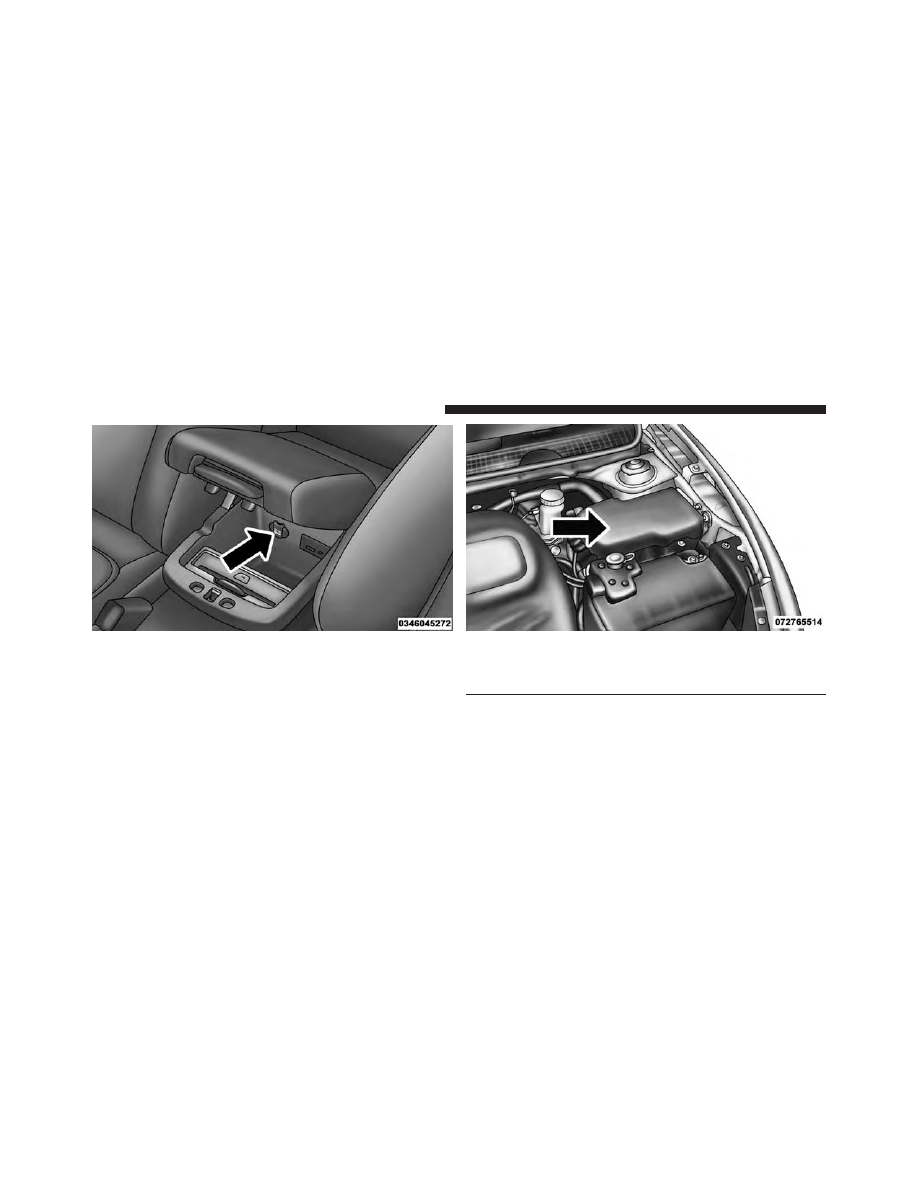
Center Console Outlet
Underhood Fuses (Power Outlet Fuses)
1 — F84 Fuse 20 A Yellow Cigar Lighter
2 — F30 Fuse 20 A Yellow Center Console Outlet
284
UNDERSTANDING THE FEATURES OF YOUR VEHICLE
|
|
|
Center Console Outlet Underhood Fuses (Power Outlet Fuses) 1 — F84 Fuse 20 A Yellow Cigar Lighter 284 UNDERSTANDING THE FEATURES OF YOUR VEHICLE |