Dodge Chassis Cab (2012 year). Instruction - part 15
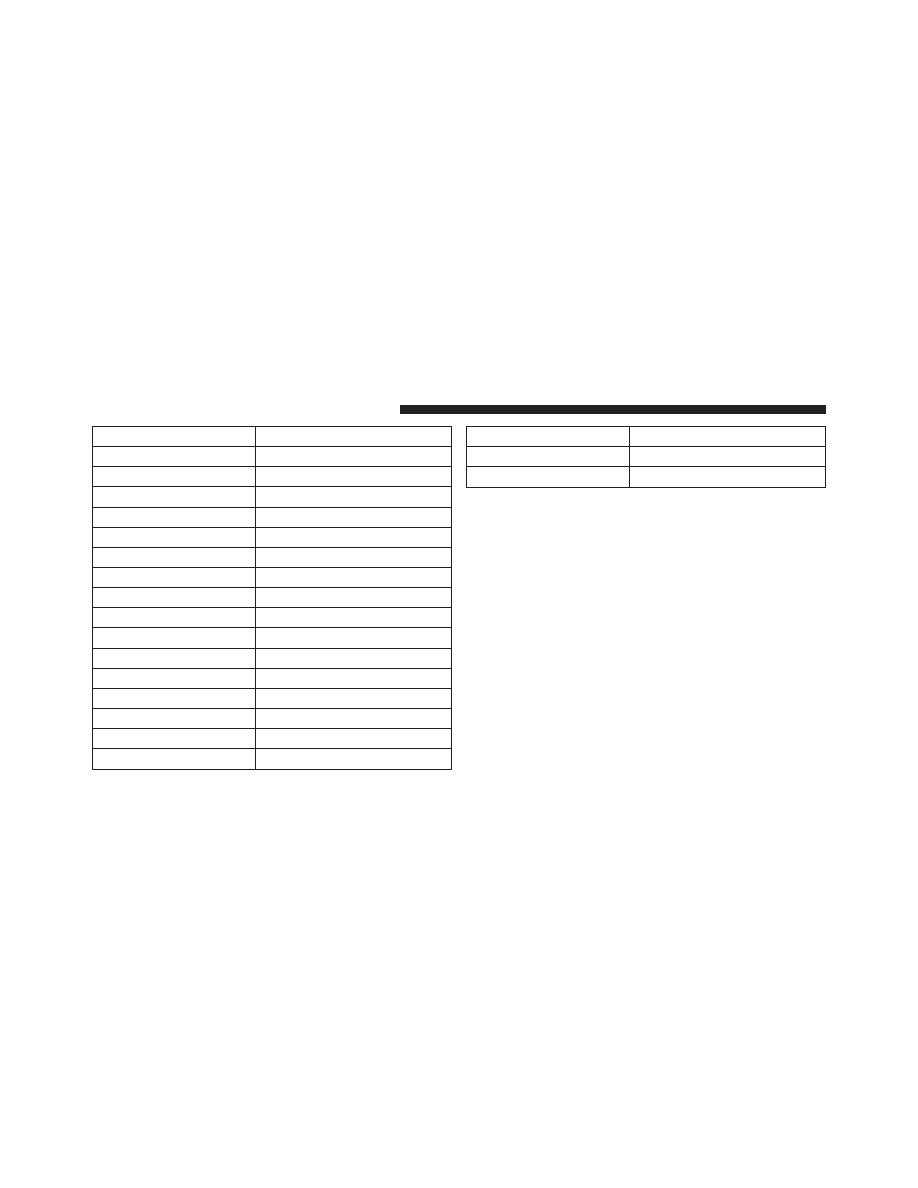
Program Type
16-Digit Character Display
Information
Inform
Jazz
Jazz
News
News
Nostalgia
Nostalga
Oldies
Oldies
Personality
Persnlty
Public
Public
Rhythm and Blues
R & B
Religious Music
Rel Musc
Religious Talk
Rel Talk
Rock
Rock
Soft
Soft
Soft Rock
Soft Rck
Soft Rhythm and Blues
Soft R&B
Sports
Sports
Talk
Talk
Program Type
16-Digit Character Display
Top 40
Top 40
Weather
Weather
By pressing the SEEK button when the Music Type icon
is displayed, the radio will be tuned to the next frequency
station with the same selected Music Type name. The
Music Type function only operates when in the FM
mode.
If a preset button is activated while in the Music Type
(Program Type) mode, the Music Type mode will be
exited and the radio will tune to the preset station.
SETUP Button
Pressing the SETUP button allows you to select between
the following items:
• Set Clock — Pressing the SELECT button will allow
you to set the clock. Adjust the hours by turning the
TUNE/SCROLL control knob. After adjusting the
236
UNDERSTANDING YOUR INSTRUMENT PANEL