Dodge Stratus Sedan (2005 year). Instruction - part 12


  Index      Dodge     Dodge Stratus Sedan (2005 year) - instruction in english


Search            copyright infringement  


Content      ..     10      11      12      13     ..


Dodge Stratus Sedan (2005 year). Instruction - part 12


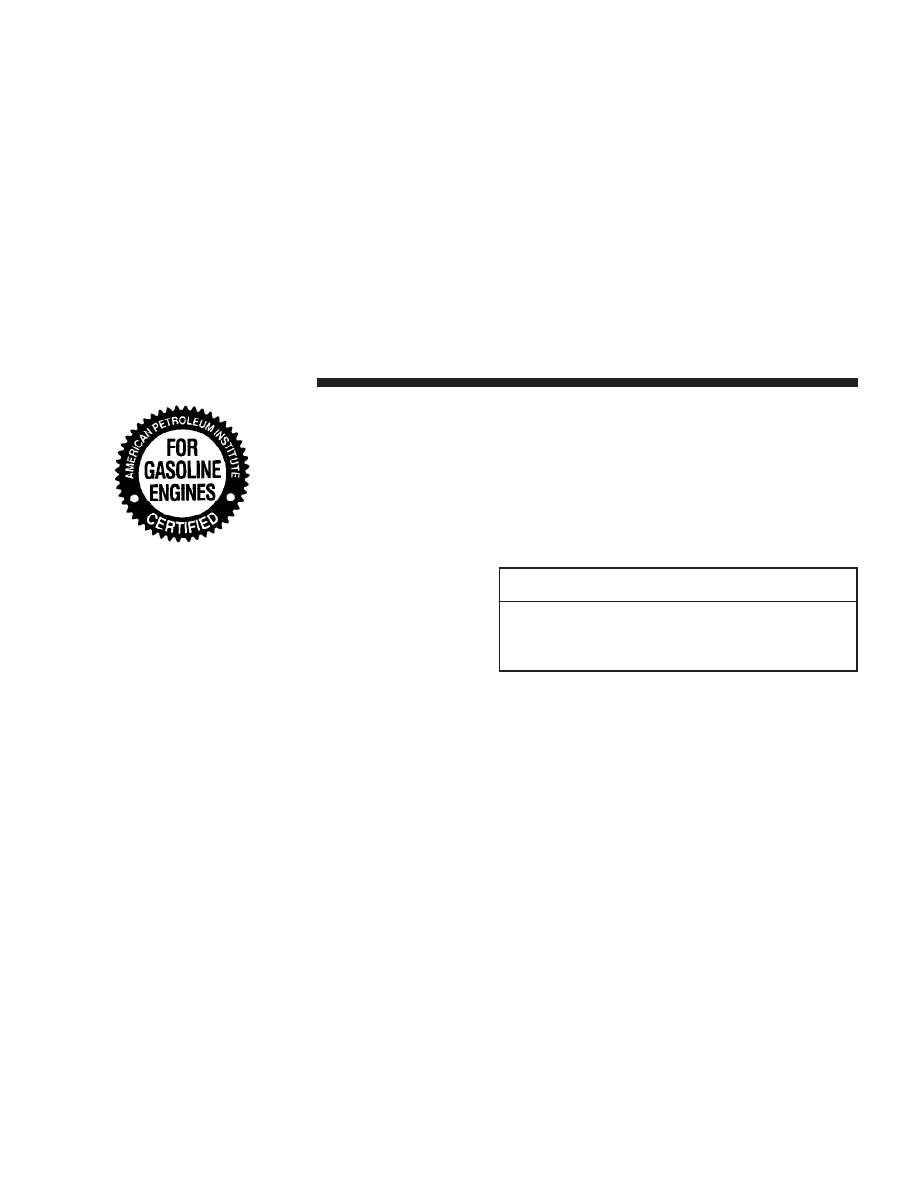
This symbol means that the oil has
been certified by the American
Petroleum Institute (API). We
only recommend API Certified en-
gine oils that meet the require-
ments of DaimlerChrysler’s Mate-
rial Standard MS-9214. Use Mopar
or an equivalent oil meeting the
specification MS-9214.

The manufacturer strongly recommends against the ad-
dition of any additives (other than leak detection dyes) to
engine oil. Engine oil is an engineered product and it’s
performance may be impaired by supplemental addi-
tives.

• Engine Oil Selection for Operating on E-85

If you operate the vehicle on E-85 fuel, either full or
part-time, use only Mopar Flexible Fuel 5W-30 engine
oil (P/N 4318086) or an equivalent that meets the
Manufacturer’s Standard MS-9214. Equivalent com-
mercial Flexible Fuel engine oils may be labeled as

Flexible Fuel (FFV) or Alternate Fuel (AFV). These
engine oils may be satisfactory if they meet the Manu-
facturer’s Standard.

The 5W-30 engine oil installed at the factory meets the
manufacturer’s requirements for Flexible Fuel engine oil.

SAE 5W-30 engine oil is preferred for use in Flexible Fuel
engines.

CAUTION!

If Flexible Fuel engine oil is not used when using
E-85, engine wear may be increased significantly.
This may void your warranty.

• Engine Oil Selection for Operating on Gasoline

If you operate the vehicle on regular unleaded gasoline
ONLY, use Mopar oil or an equivalent that meets certified
API (American Petroleum Institute) Quality.

182

STARTING AND OPERATING

Starting
The characteristics of E-85 fuel make it unsuitable for use
when ambient temperatures fall below 0°F (-18°C). In the
range of 0°F to 32°F (-18°C to 0°C), you may experience
an increase in the time it takes for your engine to start,
and a deterioration in drivability (sags and/or hesita-
tions) until the engine is fully warmed up.

Cruising Range
Because E-85 fuel contains less energy per gallon than
gasoline, you will experience an increase in fuel con-
sumption. You can expect your MPG and your driving
range to decrease by about 30% compared to gasoline
operation.

Replacement Parts
Many components in your Flexible Fuel Vehicle (FFV) are
designed to be compatible with ethanol. Always be sure
that your vehicle is serviced with correct ethanol com-
patible parts.

CAUTION!

Replacing fuel system components with non-ethanol
compatible components can damage your vehicle
and may void the warranty.

Maintenance
If you operate the vehicle using E-85 fuel, follow Sched-
ule B in the maintenance schedule section of this instruction.

CAUTION!

Do not use ethanol mixture greater than 85% in your
vehicle. It will cause difficulty in cold starting and
may affect driveability.

STARTING AND OPERATING

183

5

WHAT TO DO IN EMERGENCIES

CONTENTS

䡵 Hazard Warning Flasher . . . . . . . . . . . . . . . . . 186
䡵 If Your Engine Overheats . . . . . . . . . . . . . . . . 186
䡵 Jacking And Tire Changing . . . . . . . . . . . . . . . 188

▫ Preparations For Jacking . . . . . . . . . . . . . . . . 188

䡵 Jump-Starting Procedures If Battery Is Low . . . 193
䡵 Driving On Slippery Surfaces . . . . . . . . . . . . . 196

▫ Acceleration . . . . . . . . . . . . . . . . . . . . . . . . . 196

▫ Traction . . . . . . . . . . . . . . . . . . . . . . . . . . . . 196

䡵 Freeing A Stuck Vehicle . . . . . . . . . . . . . . . . . 197
䡵 Towing A Disabled Vehicle . . . . . . . . . . . . . . . 197
䡵 Towing This Vehicle Behind Another Vehicle

(Flat Towing With All Four Wheels On The
Ground) 
. . . . . . . . . . . . . . . . . . . . . . . . . . . . . 198

▫ Automatic Transaxle . . . . . . . . . . . . . . . . . . . 198

6

HAZARD WARNING FLASHER

The flasher switch is on top of the steering column,
just behind the steering wheel. Depress the switch

and both cluster indicators and all front and rear direc-
tional signals will flash. Depress the switch again to turn
Hazard Warning Flashers off.

Do not use this emergency warning system when the
vehicle is in motion. Use it when your vehicle is disabled
and is creating a safety hazard for other motorists.

If it is necessary to leave the vehicle to go for service, the
flasher system will continue to operate with the ignition
key removed and the vehicle locked.

NOTE:

With extended use, the flasher may wear down

your battery.

IF YOUR ENGINE OVERHEATS
In any of the following situations, you can reduce the
potential for overheating by taking the appropriate ac-
tion.

• On the highways — Slow down.
• In city traffic — While stopped, put transaxle in

neutral, but do not increase engine idle speed.

NOTE:

There are steps that you can take to slow down

an impending overheat condition. If your air conditioner
is on, turn it off. The air conditioning system adds heat to
the engine cooling system and turning off the A/C
removes this heat. You can also turn the Temperature
control to maximum heat, the Mode control to floor, and

Hazard Flasher Switch

186

WHAT TO DO IN EMERGENCIES

the fan control to High. This allows the heater core to act
as a supplement to the radiator and aids in removing heat
from the engine cooling system.

CAUTION!

Driving with a hot cooling system could damage
your vehicle. If temperature gauge reads “H”, pull
over and stop the vehicle. Idle the vehicle in Park
with the air conditioner turned off until the pointer
drops back into the normal range. If the pointer
remains on the “H”, turn the engine off immediately,
and call for service.

WARNING!

A hot engine cooling system is dangerous. You or
others could be badly burned by steam or boiling
coolant. You may want to call a service center if your
vehicle overheats. If you decide to look under the
hood yourself, see Section 7, Maintenance, of this
instruction. Follow the warnings under the Cooling
System Pressure Cap paragraph.

WHAT TO DO IN EMERGENCIES

187

6

JACKING AND TIRE CHANGING

WARNING!

• Getting under a jacked-up vehicle is dangerous.

The vehicle could slip off the jack and fall on you.
You could be crushed. Never get any part of your
body under a vehicle that is on a jack. Never start
or run the engine while the vehicle is on a jack. If
you need to get under a raised vehicle, take it to a
service center where it can be raised on a lift.

• Do not attempt to change a tire on the side of the

vehicle close to moving traffic. Pull far enough off
the road to avoid the danger of being hit when
operating the jack or changing the wheel.

• The jack is designed to use as a tool for changing

tires only. The jack should not be used to lift the
vehicle for service purposes. The vehicle should
be jacked on a firm level surface only. Avoid ice or
slippery areas.

Preparations for Jacking

Park the vehicle on a firm level surface, avoid ice or
slippery areas, and set the parking brake. Place the gear
selector in PARK.

• Turn on the Hazard Warning Flasher, park vehicle on

firm, level surface.

• Put gear shift in park (automatic transmission) or

reverse (instruction transmission).

• Set parking brake and turn off engine.
• Passengers should not remain in the vehicle while the

vehicle is being jacked.

Changing a Tire
The spare wheel, scissors jack, and lug wrench are
stowed under the spare tire cover in the rear cargo area.

Do not attempt to raise this vehicle using a bumper jack.

188

WHAT TO DO IN EMERGENCIES

1. Block wheel diagonally op-
posite flat tire.

2. Remove the spare tire, scissors jack and lug wrench
from stowage.

WHAT TO DO IN EMERGENCIES

189

6

3. Before raising the vehicle, use lug wrench to carefully
pry off wheel cover (if equipped with steel wheels) or
center cap (if equipped with aluminum wheels). Loosen,
but do not remove, the wheel nuts by turning them
counterclockwise one turn while the wheel is still on the
ground.

WARNING!

To avoid possible personal injury, handle the wheel
covers with care to avoid contact with the metal
edges and retention teeth.

4. Turn the jack screw clockwise to firmly engage the jack
saddle with the lift area of the sill flange. Use the lift area
closest to the flat tire

5. Raise the vehicle just enough to remove flat tire and
install spare tire.

Center Cap Removal

190

WHAT TO DO IN EMERGENCIES

Jack Engagement Locations

WHAT TO DO IN EMERGENCIES

191

6

WARNING!

Raising the vehicle higher than necessary can make
the vehicle less stable. It could slip off the jack and
hurt someone near it. Raise the vehicle only enough
to remove the tire.

6. Remove lug nuts and tire.

7. Mount spare tire.

8. Tighten all lug nuts on mounting studs.

9. Lower the vehicle to the ground by turning the jack
handle counterclockwise.

10. Fully tighten the lug nuts. Torque wheel lug nuts to
135 N·m (100 ft. lbs.).

11. Store the flat tire, jack, and tools.

WARNING!

A loose tire or jack thrown forward in a collision or
hard stop could endanger the occupants of the ve-
hicle. Always stow the jack parts and the spare tire in
the places provided.

12. Wheel cover installation (if required). Do not attempt
to install a wheel cover on a compact spare. Align valve
notch in wheel cover with valve stem on wheel. Snap
cover into place.

NOTE:

When reinstalling the center cap it is necessary

to align the center cap notch with the first spoke, just
right of the valve stem.

13. Adjust the tire pressure as soon as possible. Correct
pressure is on the label located on the driver’s door.

192

WHAT TO DO IN EMERGENCIES

JUMP-STARTING PROCEDURES IF BATTERY IS
LOW

WARNING!

• Do not attempt to push or tow your vehicle to get

it started. Vehicles equipped with an automatic
transaxle cannot be started this way. Unburned
fuel could enter the catalytic converter and once
the engine has started, ignite and damage the
converter and vehicle. If the vehicle has a dis-
charged battery, booster cables may be used to
obtain a start from another vehicle. This type of
start can be dangerous if done improperly, so
follow this procedure carefully.

• Take care to avoid the radiator cooling fan when-

ever the hood is raised. It can start anytime the
ignition switch is on. You can be hurt by the fan.

NOTE:

The battery is stored in a compartment behind

the left front fender and is accessible without removing

the tire and wheel. Remote battery terminals are located
in the engine compartment for jump starting.

1. Wear eye protection and remove any metal jewelry
such as watch bands or bracelets that might make an
inadvertent electrical contact.

2. When boosting from a battery in another vehicle, park
that vehicle within booster cable reach but without
letting the vehicles touch. Set parking brake, place auto-
matic transaxle in PARK and turn ignition to OFF for
both vehicles.

3. Turn off the heater, radio and all unnecessary electrical
loads.

4. Connect one end of a jumper cable to the positive
terminal of the booster battery. Connect the other end to
the positive jump start attachment of the discharged
battery.

WHAT TO DO IN EMERGENCIES

193

6

WARNING!

Do not permit vehicles to touch each other as this
could establish a ground connection and person
injury could result.

5. Connect the other cable, first to the negative terminal
of the booster battery and then to the jump start attach-
ment of the vehicle with the discharged battery. Make
sure you have a good contact on the engine.

WARNING!

Do not connect the cable to the negative post of the
discharged battery. The resulting electrical spark
could cause the battery to explode.

During cold weather when temperatures are below
freezing point, electrolyte in a discharged battery
may freeze. Do not attempt jump starting because
the battery could rupture or explode. The battery
temperature must be brought up above freezing
point before attempting to jump start.

6. Start the engine in the vehicle that has the booster
battery, let the engine idle a few minutes, then start the
engine in the vehicle with the discharged battery.

7. When removing the jumper cables, reverse the above
sequence exactly. Be careful of the moving belts and fan.

Jump Starting

194

WHAT TO DO IN EMERGENCIES

WARNING!

Any procedure other than above could result in:

1. Personal injury caused by electrolyte squirting
out the battery vent;

2. Personal injury or property damage due to battery
explosion;

3. Damage to charging system of booster vehicle or
of immobilized vehicle.

WARNING!

Battery fluid is a corrosive acid solution; do not
allow battery fluid to contact eyes, skin or clothing.
Don’t lean over battery when attaching clamps or
allow the clamps to touch each other. If acid splashes
in eyes or on skin, flush the contaminated area
immediately with large quantities of water.

A battery generates hydrogen gas which is flam-
mable and explosive. Keep flame or spark away
from the battery. Do not use a booster battery or any
other booster source with an output that exceeds 12
volts.

WARNING!

Battery posts, terminals and related accessories con-
tain lead and lead compounds. Wash hands after
handling.

WHAT TO DO IN EMERGENCIES

195

6

DRIVING ON SLIPPERY SURFACES

Acceleration
Rapid acceleration on snow covered, wet, or other slip-
pery surfaces may cause the front wheels to pull errati-
cally to the right or left. This phenomenon occurs when
there is a difference in the surface traction under the front
(driving) wheels, particularly with high output engines.

WARNING!

Rapid acceleration on slippery surfaces is danger-
ous. Unequal traction can cause sudden pulling of
the front wheels. You could lose control of the
vehicle and possibly have an accident. Accelerate
slowly and carefully whenever there is likely to be
poor traction (ice, snow, wet, mud, loose sand, etc.).

Traction
When driving on wet or slushy roads, it is possible for a
wedge of water to build up between the tire and road
surface. This is hydroplaning and may cause partial or

complete loss of vehicle control and stopping ability. To
reduce this possibility, the following precautions should
be observed:

1. Slow down during rainstorms or when roads are
slushy.

2. Slow down if road has standing water or puddles.

3. Replace tires when tread wear indicators first become
visible.

4. Keep tires properly inflated.

5. Maintain enough distance between your vehicle and
the vehicle in front of you to avoid a collision in a sudden
stop.

NOTE:

If so equipped, turn on the Traction Control

System to accelerate on slippery surfaces.

196

WHAT TO DO IN EMERGENCIES

FREEING A STUCK VEHICLE
If your vehicle is equipped with Traction Control, turn
the system off before attempting to “rock” the vehicle.

If your vehicle becomes stuck in mud, sand or snow, it
can often be moved by a rocking motion. Turn your
steering wheel right and left to clear the area around the
front wheels. Then shift back and forth between Reverse
and First gear. Usually the least accelerator pedal pres-
sure to maintain the rocking motion without spinning the
wheels is most effective.

CAUTION!

Racing the engine or spinning the wheels too fast
may lead to transaxle overheating and failure. It can
also damage the tires. Do not spin the wheels above
35 mph (55 km/h).

TOWING A DISABLED VEHICLE
Flat bed towing is the preferred towing method. If a flat
bed towing vehicle is not available, a wheel lift towing
vehicle may be used.

Rear towing is not recommended with the front wheels
on the ground, as transaxle damage can result. If rear
towing is the only alternative, a front end dolly must be
used.

CAUTION!

Do not use sling type towing equipment. Damage to
the fascia and air dam may result.

WHAT TO DO IN EMERGENCIES

197

6


Content      ..     10      11      12      13     ..