Volvo S60 (2018 year). Manual - part 9
LOCKS AND ALARM
150
Detachable key blade – unlocking
Your vehicle's remote key (p. 144) contains a
metal, detachable key blade that can be used to
unlock the driver's door, lock the glove compart-
ment, etc.
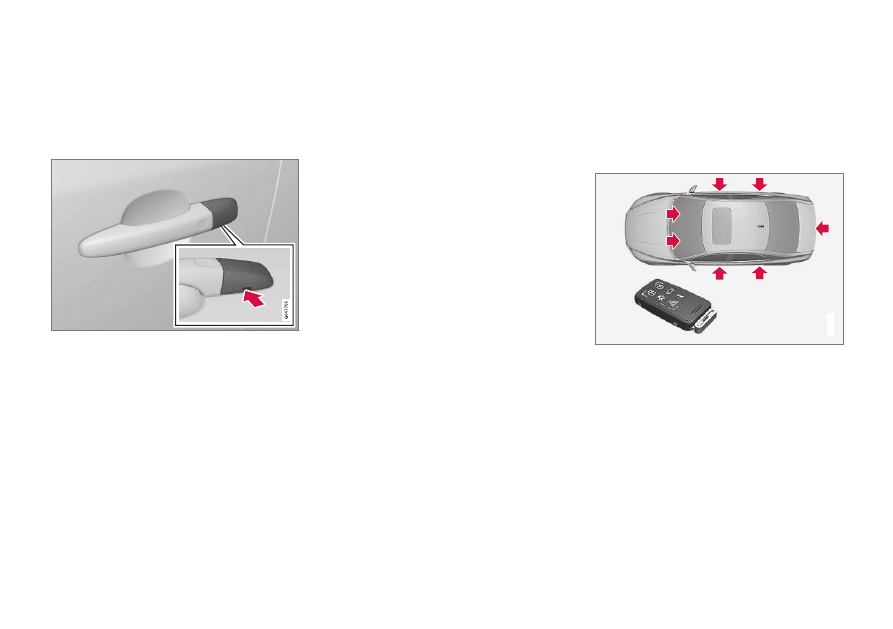
Driver's door keyhole cover
If the remote key does not function normally
(weak battery, etc.), the vehicle can be unlocked
with the detachable key blade.
1. Remove the detachable key blade (p. 149)
from the remote key.
2. Press the key blade approx. 0.5 in. (1 cm)
straight up in the hole on the underside of
the keyhole cover.
> The cover will come off due to the pres-
sure exerted when the key blade is
pushed upward.
3. Insert the key blade as far as possible in the
driver's door lock. Turn the key blade to
unlock the driver's door. This will trigger the
alarm.
4.
To turn off the alarm, insert the remote key
in the ignition slot. This also applies to vehi-
cles equipped with the optional keyless drive.
5. Press the cover back into place after the
door has been unlocked.
Related information
•
Remote key and key blade (p. 144)
•
Remote key – replacing the battery (p. 151)
Valet locking
By utilizing the remote key with the key blade
removed, the valet locking feature enables you to
block access to the trunk and glove compart-
ment for e.g., valet parking or when the vehicle is
brought to the retailer for service.
G021083
Normal locking/unlocking function