Volkswagen Jetta / Jetta Hybrid. Service manual - part 23
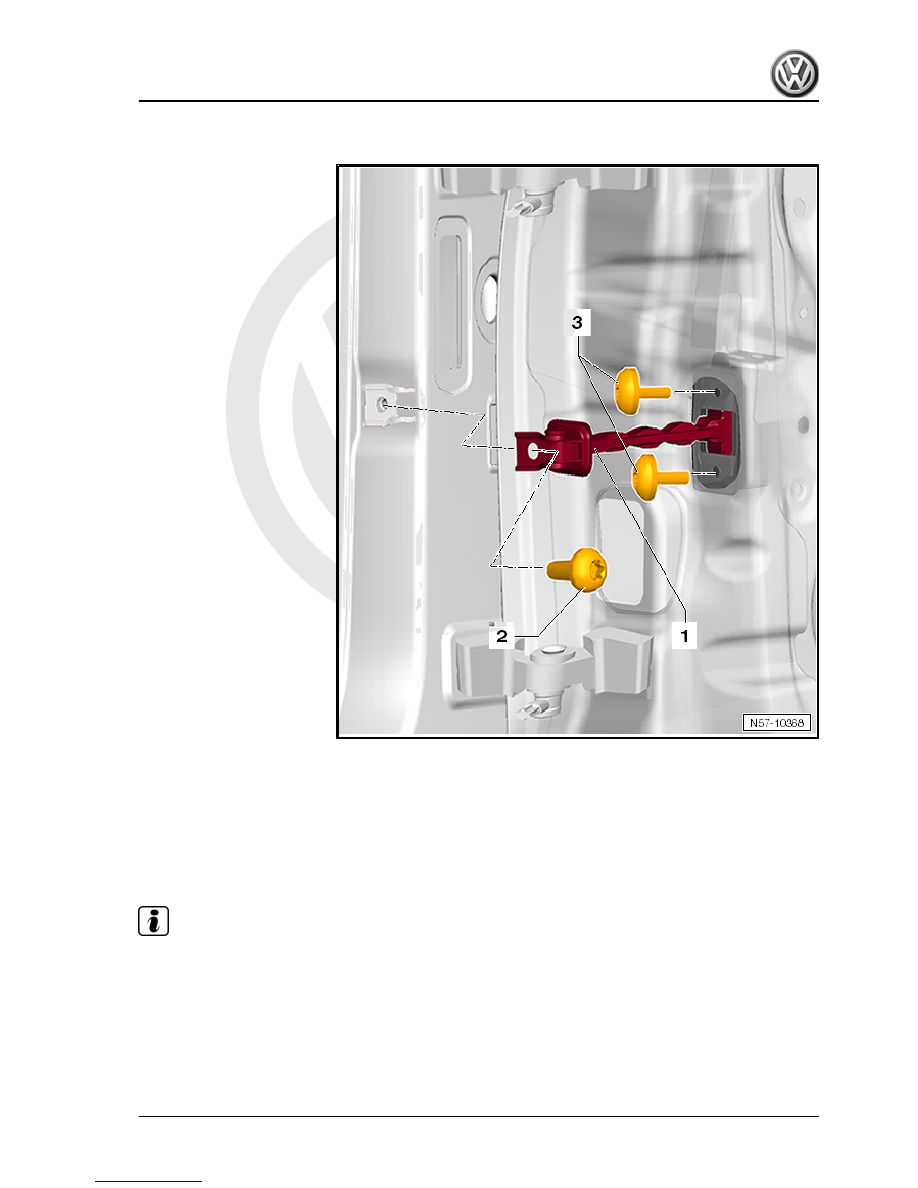
Carry out following work:
Install in reverse order of removal.
Specified torque for bolt -2-: 30 Nm.
Specified torque for bolts -3-: 9 Nm.
2.5
Removing and installing striker pin
Note
Removal and installation are described only for the right door
striker pin. Removal and installation of the left striker pin are sim‐
ilar.
Jetta 2011 ➤ , Jetta Hybrid 2013 ➤
2. Door components
89