Toyota Tundra (2019 year). Manual - part 13
193
4-1. Before driving
4
Dr
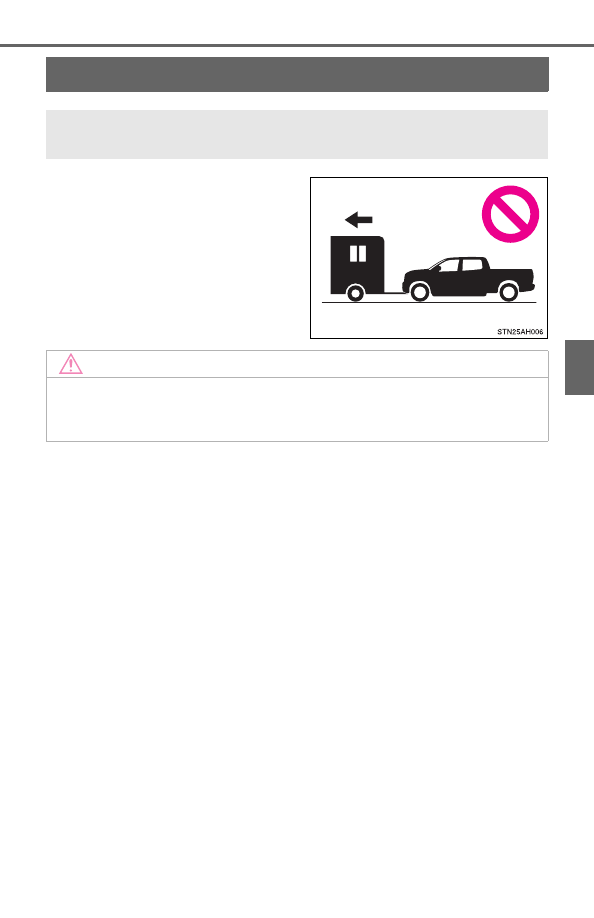
Dinghy towing
Your vehicle is not designed to be dinghy towed (with 4 wheels
on the ground) behind a motor home.
NOTICE
■
To avoid serious damage to your vehicle
Do not tow your vehicle with the four wheels on the ground.