Renault Kangoo Z.E. (2018 year). Manual - part 5
1.66
Ú
12V battery charge warning
light
If it comes on when you are driving, it
indicates that the circuit is overcharged
or has discharged. Stop and consult an
approved Dealer as soon as possible.
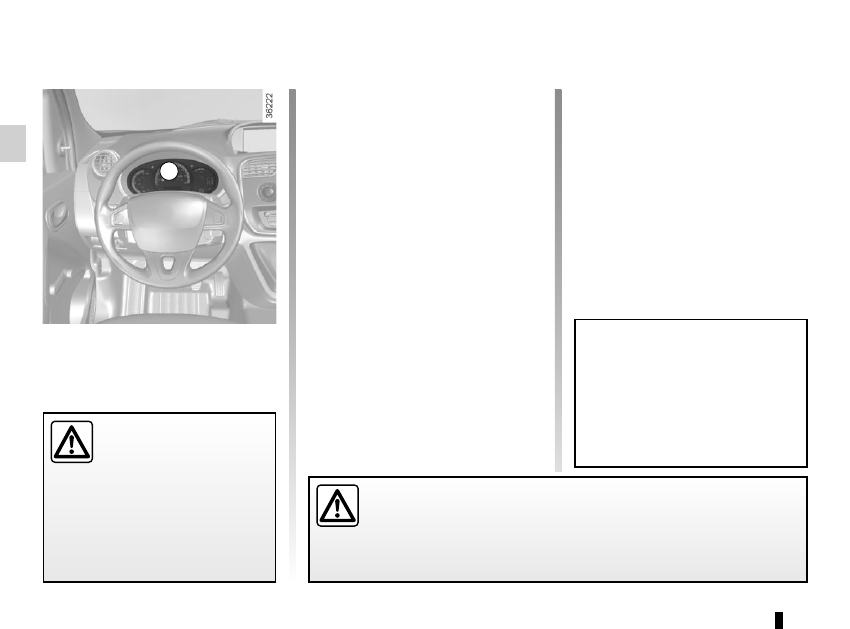
Instrument panel A
In some cases, the appearance of a
warning light is accompanied by a mes-
sage.
WARNING LIGHTS
(1/3)
If no lights or sounds are apparent, this indicates a fault in the instrument
panel. This indicates that it is essential to stop immediately (as soon as
traffic conditions allow). Ensure that the vehicle is correctly immobilised
and contact an approved Dealer.
A
Warning light
®
re-
quires you to stop immedi-
ately, for your own safety,
as soon as traffic conditions
allow. Switch off the engine and do
not restart it. Contact an approved
Dealer.
The presence and operation of the warning lights DEPEND ON THE EQUIPMENT AND COUNTRY.
The
©
warning light means
you should drive very carefully to
an approved Dealer as soon as pos-
sible. If you fail to follow this recom-
mendation, you risk damaging your
vehicle.
á
Main beam headlight tell-tale
light
k
Dipped beam headlight tell-
tale
g
Front fog light tell-tale light
Rear fog light tell-tale
c
Left-hand direction indicator
tell-tale light
b
Right-hand direction indica-
tor tell-tale light
Vehicle ready for driving
warning light
This comes on when the engine is
started.
Charging cord plugged in
warning light
This comes on when the charging cord
is plugged into the vehicle.