Nissan Pathfinder (2018 year). Manual - part 7
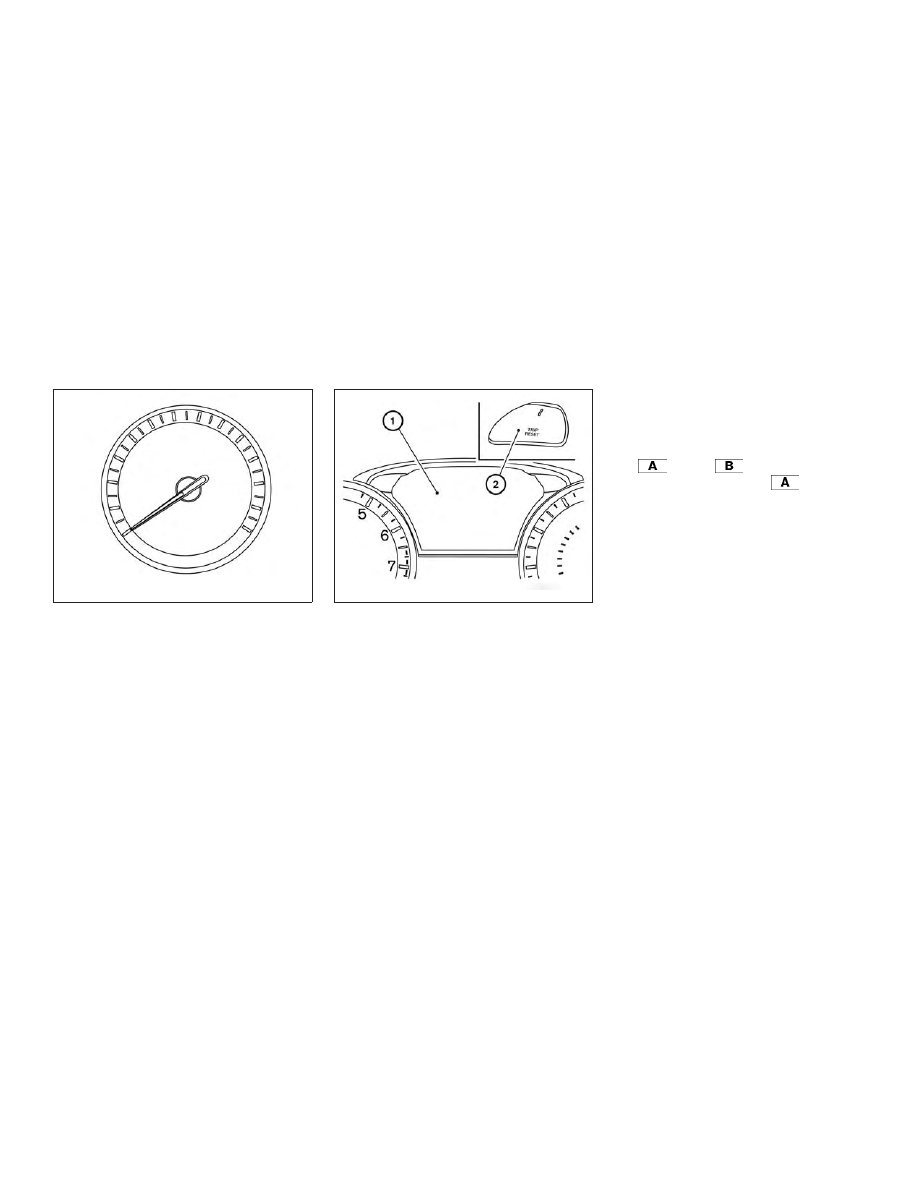
Speedometer
The speedometer indicates vehicle speed.
Odometer/Twin trip odometer
The odometer and the twin trip odometer
䊊
1
are displayed in the vehicle information
display when the ignition switch is placed
in the ON position.
The odometer records the total distance
the vehicle has been driven.
The twin trip odometer records the dis-
tance of individual trips.
Changing the display
Push the TRIP RESET switch
䊊
2
on the right
side of the instrument panel to change the
display as follows:
Trip
→ Trip
→
Odometer Mileage
→ Trip
Resetting the trip odometer
Pushing the TRIP RESET switch
䊊
2
for more
than 1 second resets the currently dis-
played trip odometer to zero.
Average fuel economy and distance to
empty information is also available. For ad-
ditional information, refer to “Vehicle infor-
mation display” in this section.
LIC2255
LIC3460
Instruments and controls
2-5