Nissan NV200 Compact Cargo Van (2018 year). Manual - part 7
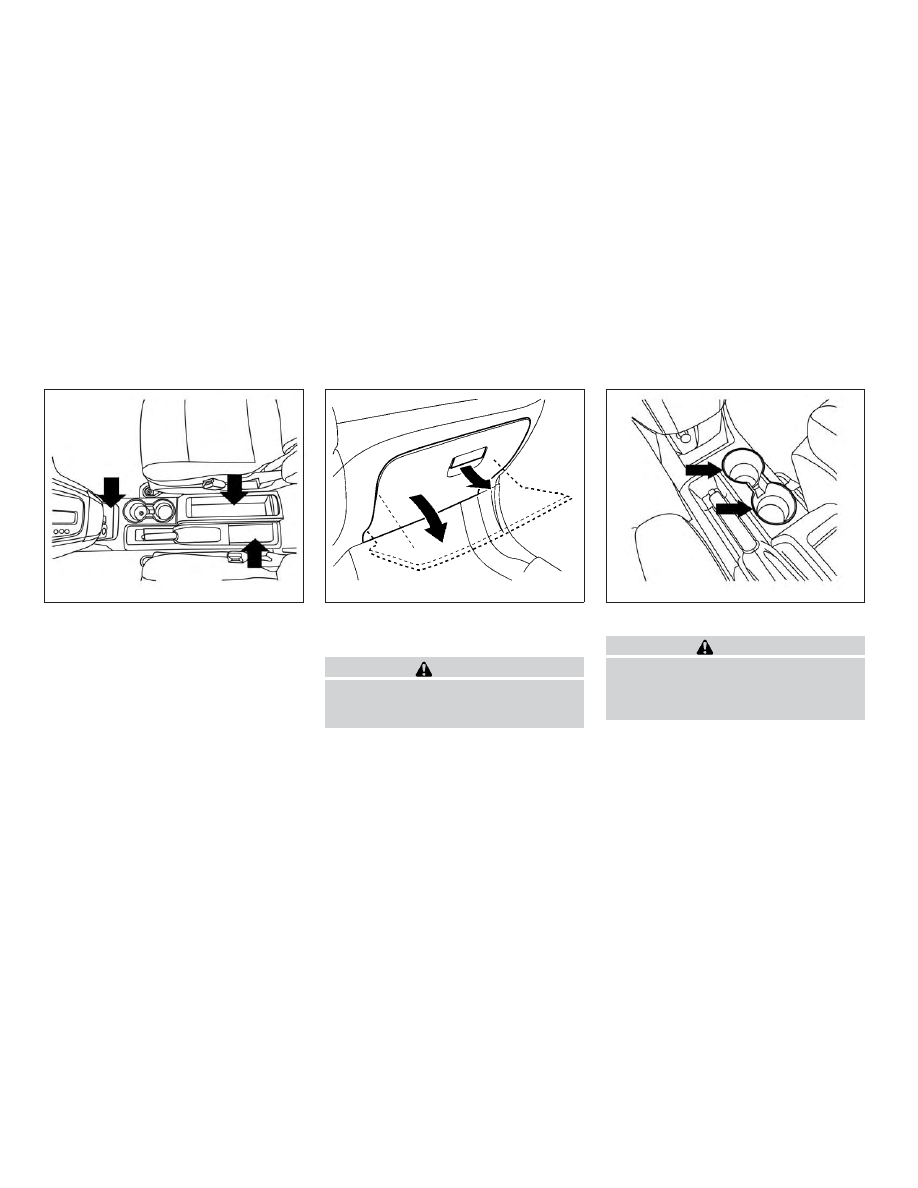
GLOVE BOX
Open the glove box by pulling the handle.
WARNING
Keep glove box lid closed while driving
to help prevent injury in an accident or a
sudden stop.
CUP HOLDERS
WARNING
Avoid abrupt starting and braking
when the cup holder is being used to
prevent spilling the drink. If the liquid is
hot, it can scald you or your passenger.
LIC2451
LIC2160
LIC2448
2-28
Instruments and controls