Nissan Juke (2017 year). Manual - part 3
belt may vary depending on the model.
WARNING
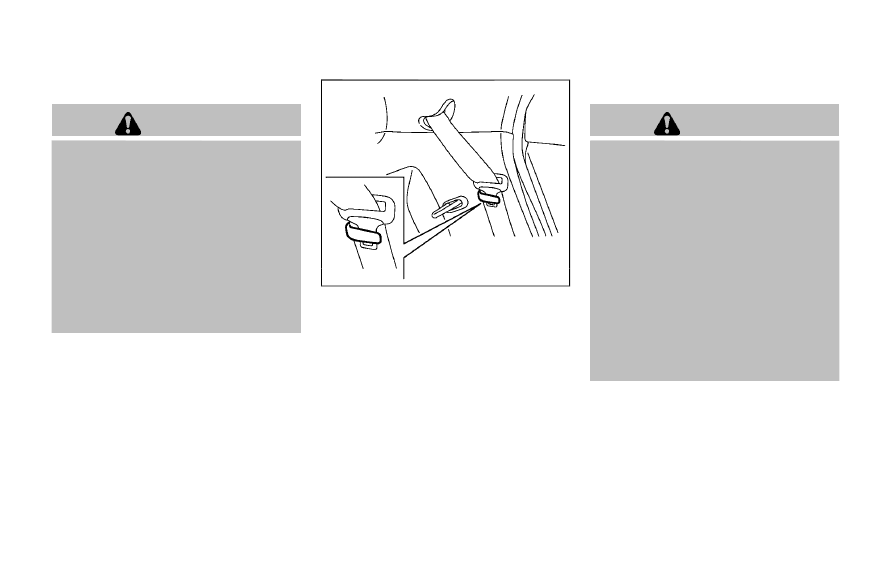
. After adjustment, release the ad-
justment button and try to move the
shoulder belt anchor up and down
to make sure it is securely fixed in
position.
. The shoulder belt anchor height
should be adjusted to the position
best for you. Failure to do so may
reduce the effectiveness of the
entire restraint system and increase
the chance or severity of injury in an
accident.
JVR0439X
Seat belt hooks
When the rear seat belts are not in use and
when folding down the rear seats, hook the rear
seat belts on the seat belt hooks.
SEAT BELT EXTENDERS
If, because of body size or driving position, it is
not possible to properly fit the lap-shoulder belt
and fasten it, an extender that is compatible with
the installed seat belts is available that can be
purchased. The extender adds approximately 8
in (200 mm) of length and may be used for either
the driver or front passenger seating position. It
is recommended you visit a NISSAN dealer for
assistance with purchasing an extender if an
extender is required.
WARNING
. It is recommended that only
NISSAN seat belt extenders, made
by the same company which made
the original equipment seat belts,
be used with NISSAN seat belts.
. Adults and children who can use the
standard seat belt should not use an
extender. Such unnecessary use
could result in serious personal
injury in the event of an accident.
. Never use seat belt extenders to
install child restraints. If the child
restraint is not secured properly, the
child could be seriously injured or
killed in a collision or a sudden stop.
SEAT BELT MAINTENANCE
. To clean the seat belt webbing, apply a
mild soap solution or any solution recom-
mended for cleaning upholstery or carpets.
Then wipe with a cloth and allow the seat
belts to dry in the shade. Do not allow the
seat belts to retract until they are completely
dry.
Safety — Seats, seat belts and supplemental restraint system
1-15