Nissan Altima (2018 year). Manual - part 9
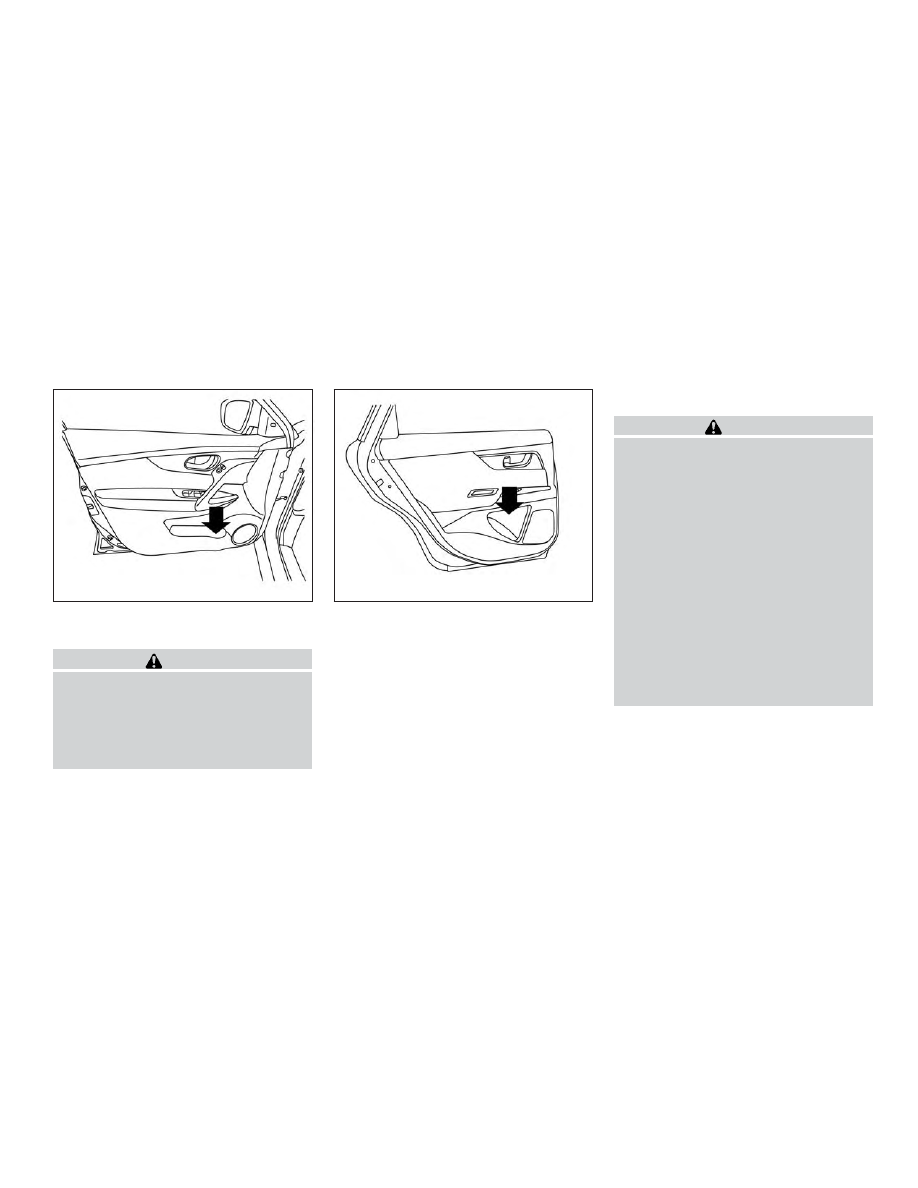
Soft bottle holder
CAUTION
∙ Do not use bottle holder for any other
objects that could be thrown about in
the vehicle and possibly injure people
during sudden braking or an accident.
∙ Do not use bottle holder for open liq-
uid containers.
POWER WINDOWS
WARNING
∙ Make sure that all passengers have
their hands, etc., inside the vehicle
while it is in motion and before closing
the windows. Use the window lock
switch to prevent unexpected use of
the power windows.
∙ To help avoid risk of injury or death
through unintended operation of the
vehicle and/or its systems, including
entrapment in windows or inadver-
tent door lock activation, do not leave
children, people who require the as-
sistance of others or pets unattended
in your vehicle. Additionally, the tem-
perature inside a closed vehicle on a
warm day can quickly become high
enough to cause a significant risk of
injury or death to people and pets.
The power windows operate when the ig-
nition switch is placed in the ON position, or
for a period of time after the ignition switch
is placed in the OFF position. If the driver’s
or passenger’s door is opened during this
period of time, the power to the windows is
canceled.
Soft bottle holder (front)
LIC2622
Soft bottle holder (rear)
LIC2296
WINDOWS
Instruments and controls
2-49