Mazda Tribute (2011 year). Manual - part 4
To have full capacity usage of your power point, the engine is required to
be running to avoid unintentional discharge of the battery. To prevent
the battery from being discharged:
• do not use the power point longer than necessary when the engine is
not running,
• do not leave battery chargers, video game adapters, computers and
other devices plugged in overnight or when the vehicle is parked for
extended periods.
Always keep the power point caps closed when not being used.
POWER WINDOWS (IF EQUIPPED)
WARNING: Do not leave children unattended in the vehicle and
do not let children play with the power windows. They may
seriously injure themselves.
WARNING: When closing the power windows, you should verify
they are free of obstructions and ensure that children and/or
pets are not in the proximity of the window openings.
Press and pull the window switches
to open and close windows.
• Press down (to the first detent)
and hold the switch to open.
• Pull up and hold the switch to
close.
Rear window buffeting: When one or both of the rear windows are
open, the vehicle may demonstrate a wind throb or buffeting noise; this
noise can be alleviated by lowering a front window approximately two to
three inches.
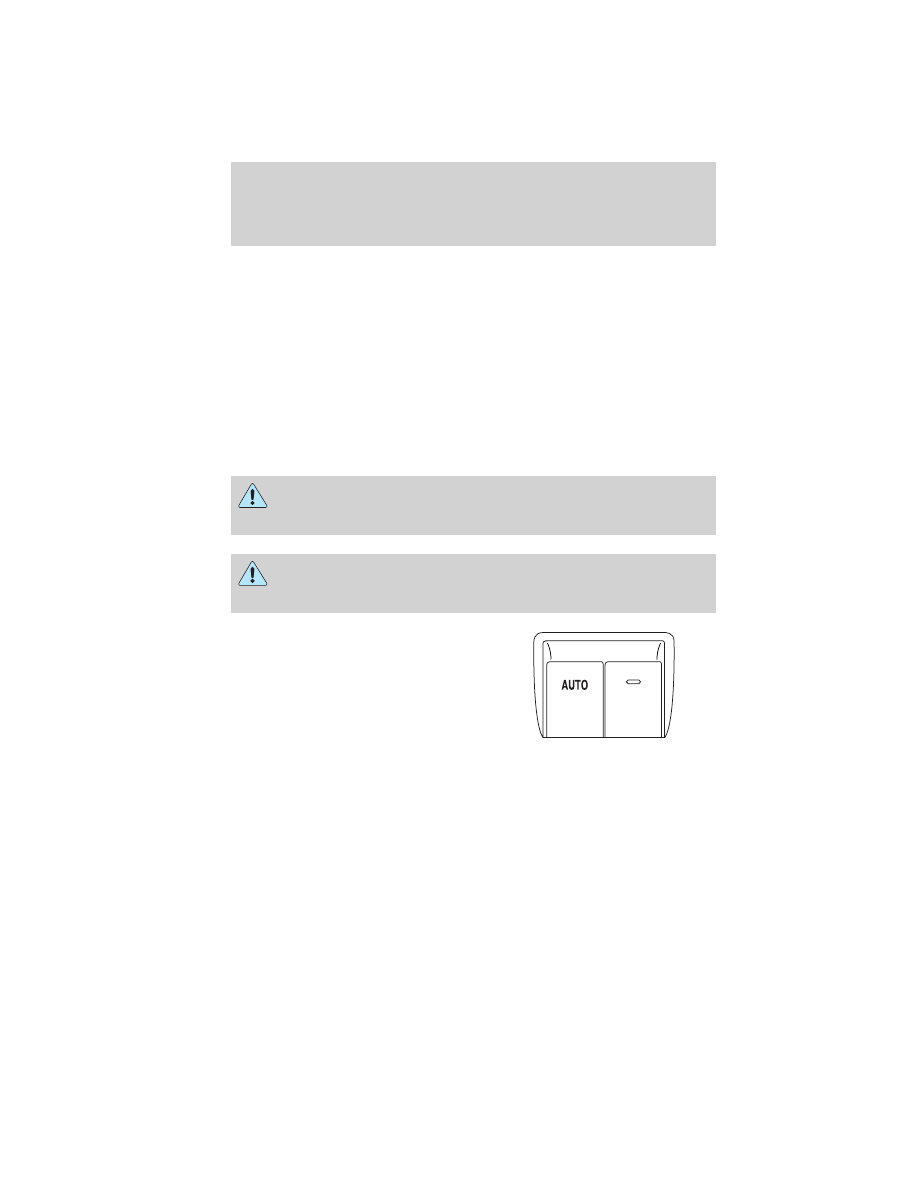
One-touch down
Allows the driver’s window to open fully without holding the control
down. Press the switch completely down to the second detent and
release quickly. The window will open fully. Momentarily press the switch
to any position to stop the window operation.
Driver Controls
56
2011 Tribute (j14)
Owners Guide, 1st Printing
USA (fus)