Jaguar X-Type Sedan and Estate (Wagon). Service manual - part 513
Published: 11-May-2011
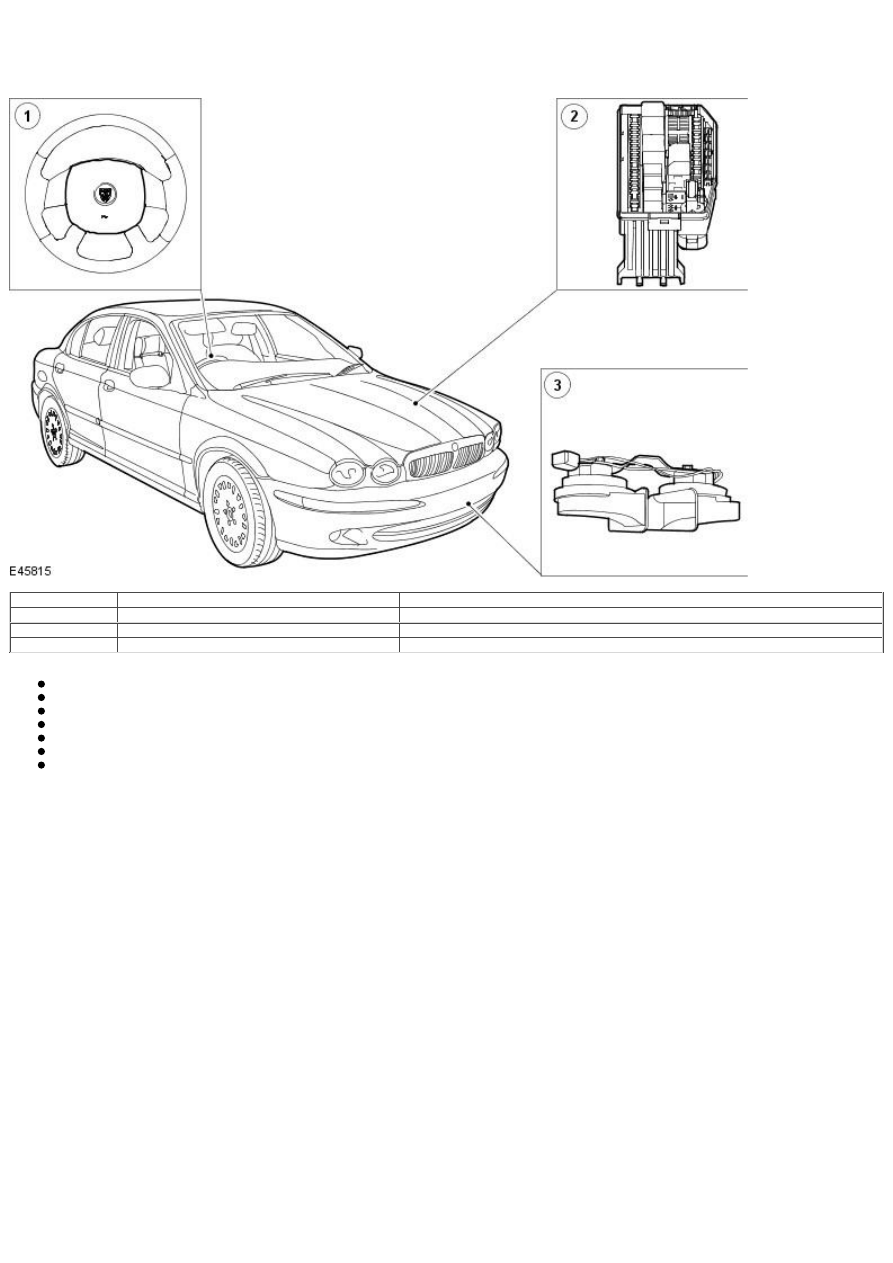
Horn - Horn
Description and Operation
Vehicles W ith 2.0L, 2.5L And 3.0L engines
Item
Part Number
Description
1
—
Horn switch
2
—
Power distribution box
3
—
Horn
The horn system consists of the following:
Power distribution box fuse 38 (20A)
Power distribution box with integral relay
Horn
Air bag sliding contact
Wiring harness
Horn switch
Generic electronic module
Vehicles with 2.0L Diesel Engine