Honda Pilot (2019 year). Manual - part 2
15
Quick
Referenc
e Guide
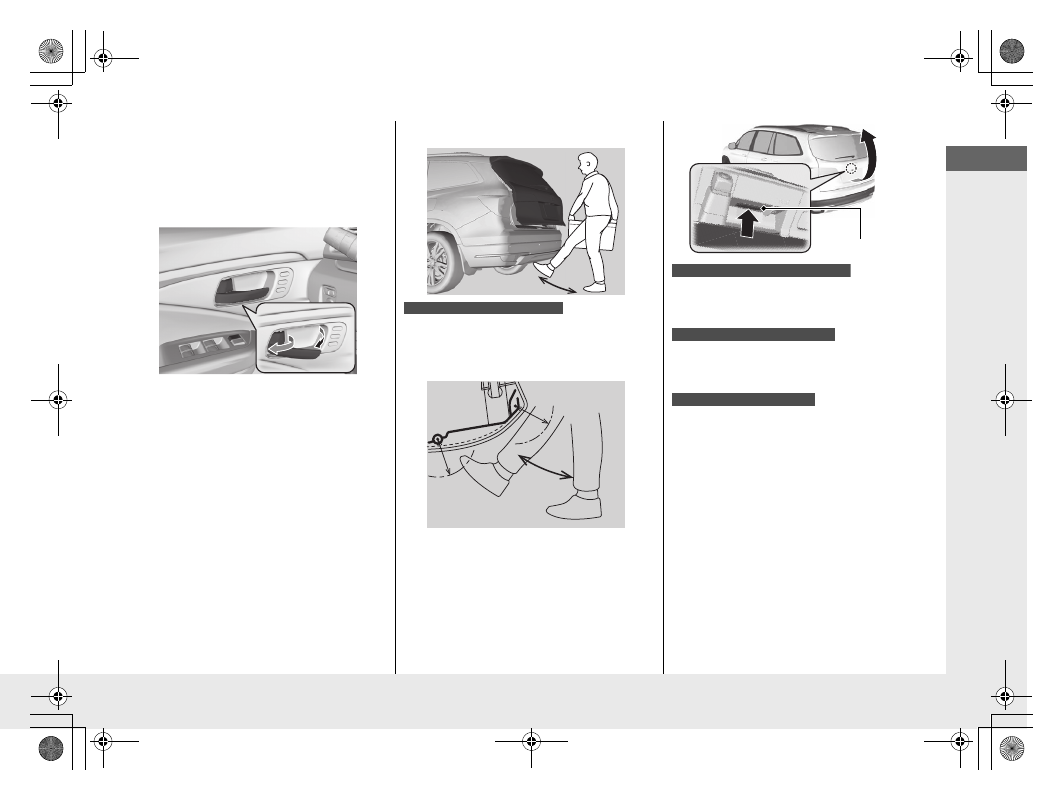
Unlocking the Front
Doors from the Inside
(P150)
● Pull either front door inner handle to
unlock and open it at the same time.
Tailgate
Use a forward and back kicking motion
under the center of the rear bumper to
open or close the power tailgate while
carrying the smart entry remote.
Models with Hands Free Access
1 sec.
● With all the doors unlocked, press the
tailgate outer handle and lift open the
tailgate.
● Press the tailgate outer handle to unlock
and open the tailgate when you carry the
smart entry remote.
● Press the power tailgate button on the
driver’s door or the remote transmitter to
open and close the power tailgate.
Outer Handle
Models without smart entry system
Models with smart entry system
Models with power tailgate