Honda Civic (2019 year). Manual - part 14
uu
Climate Control System
*
u
Using Automatic Climate Control
208
Co
ntrols
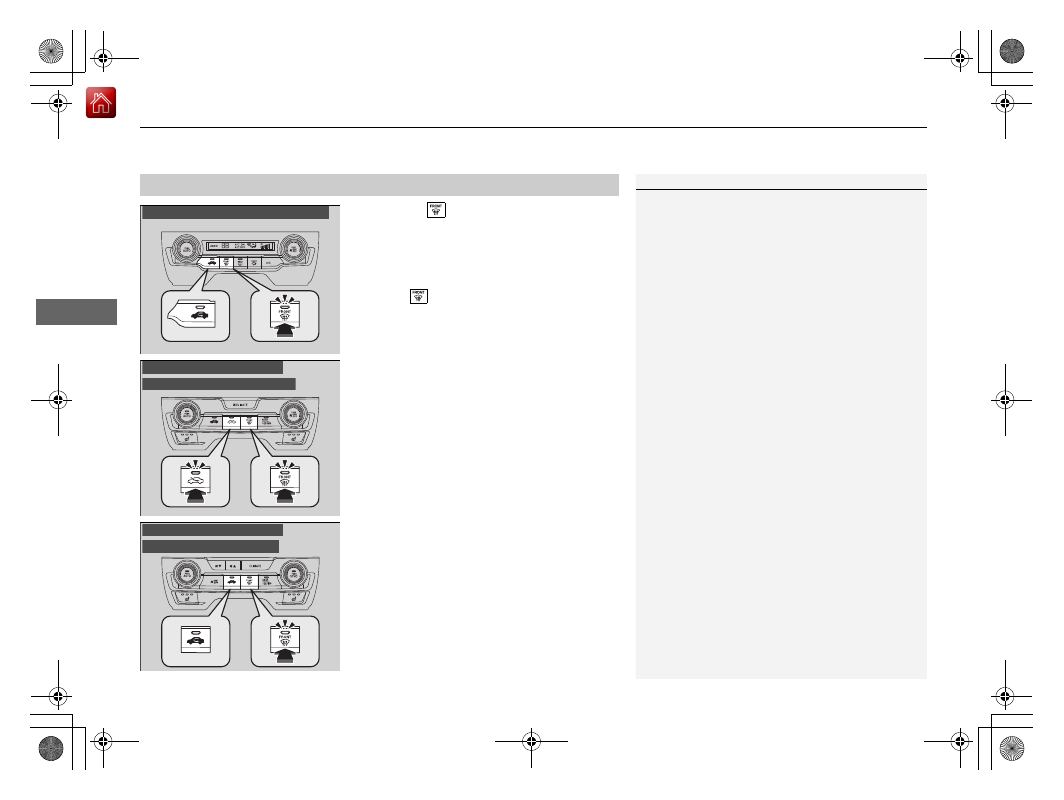
Pressing the
(windshield defroster) button
turns the air conditioning system on and
automatically switches the system to fresh air
mode.
Press the
button again to turn off, the
system returns to the previous settings.
■
Defrosting the Windshield and Windows
1
Defrosting the Windshield and Windows
For your safety, make sure you have a clear view
through all the windows before driving.
Do not set the temperature near the upper or lower
limit.
When cold air hits the windshield, the outside of the
windshield may fog up.
If the side windows fog up, adjust the vents so that
the air hits the side windows.
U.S. models with color audio system
Models with Display Audio
Models without SYNC button
Models with Display Audio
Models with SYNC button