Honda Civic Coupe (2019 year). Manual - part 12
176
uu
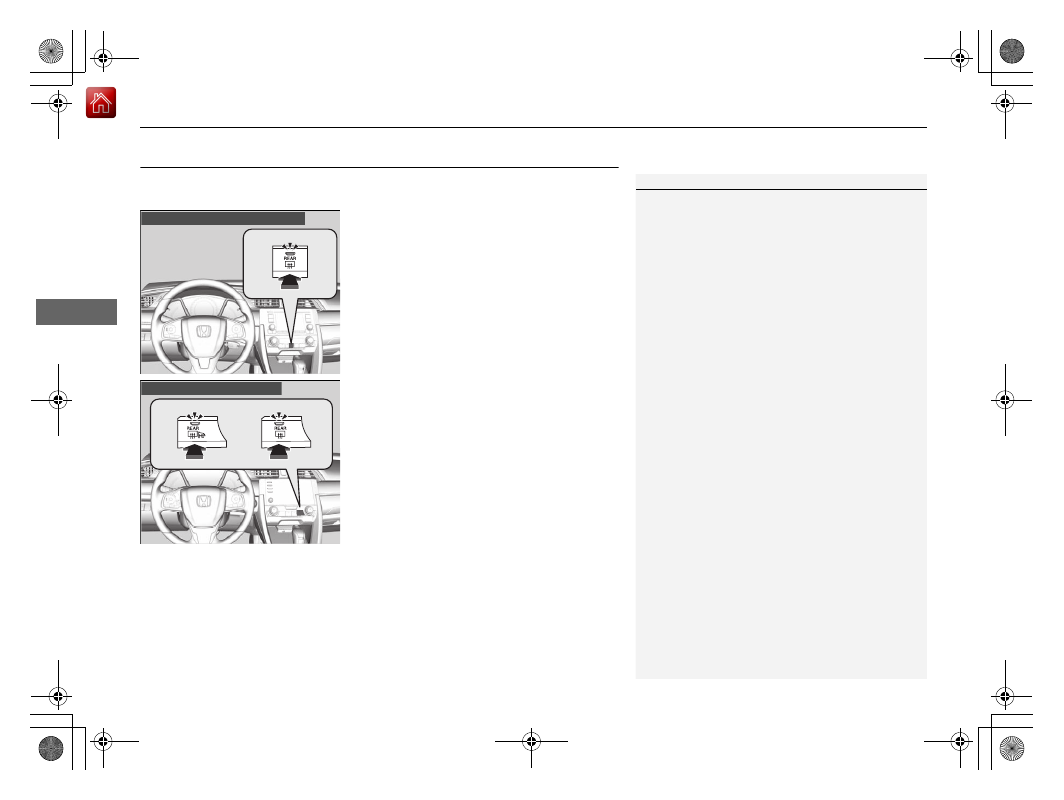
Operating the Switches Around the Steering Wheel
u
Rear Defogger/Heated Door Mirror
*
Button
Co
ntrols
Rear Defogger/Heated Door Mirror
*
Button
Press the rear defogger and heated door mirror button to defog the rear window
and mirrors when the ignition switch is in ON
(
w
*1
.
The rear defogger and heated door mirror
automatically switches off after 10-30
minutes depending on the outside
temperature.
However, if the outside temperature is 32°F
(0°C) or below, it does not automatically
switch off.
*1: Models with the smart entry system have an ENGINE START/STOP button instead of an
ignition switch.
1
Rear Defogger/Heated Door Mirror
This system consumes a lot of power, so turn it off
when the window has been defogged.
Also, do not use the system for a long time while the
engine is idling. This may weaken the battery, making
it difficult to start the engine.
Models with color audio system
Models with Display Audio
* Not available on all models