Honda Accord Coupe L4 (2011 year). Manual - part 13
To activate RDS program search
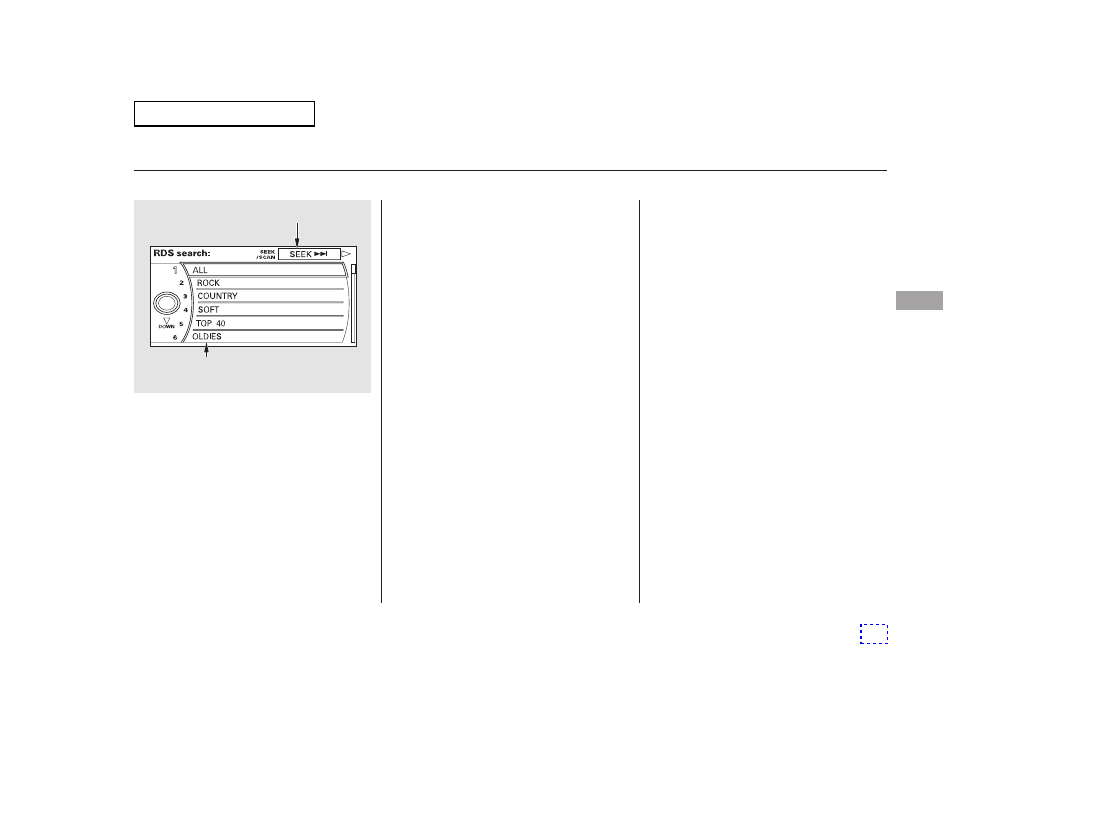
with the interface dial, push the
AUDIO button to display the FM
radio information on the screen.
Push the selector down, and turn the
knob to select the RDS SEARCH
icon. Press ENTER on the selector.
The screen shows you the RDS
program category list.
Turn the knob to the desired RDS
category.
The scan function samples all
stations with strong signals on the
selected RDS category. To activate it,
press and release the SCAN side of
the SCAN/A.SEL bar. You will see
SCAN in the center display. The
system will scan for a station with a
strong signal in the selected RDS
category. You will also see the
selected RDS category name
blinking in the center display while
searching it. When the system finds
one, it will stop and play that station
for about 10 seconds.
While the RDS category is selected,
move the selector knob to the right
to select SEEK in the upper right
corner of the screen. Then press
ENTER to activate the seek function.
CONTINUED
RDS Program SCAN
Playing the FM/AM Radio (Models with navigation system)
Fe
a
tu
re
s
RDS CATEGORY LIST
SEEK is selected.
SEEK/SCAN ICON
Main Menu