Ford Focus RS (2011 year). Manual - part 81
6. Operate the roof opening panel and check
the alignment.
Item 1
Roof opening panel guide arm covers
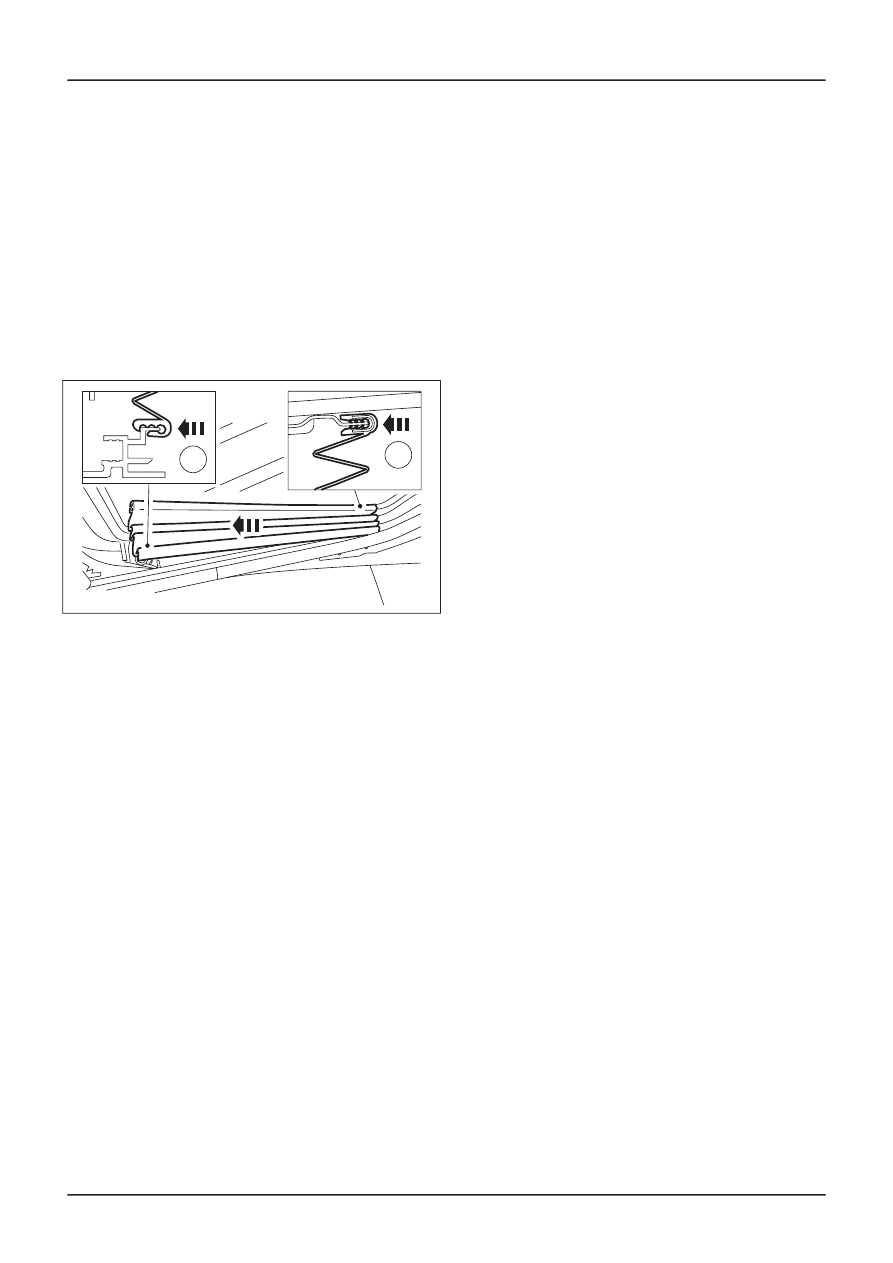
1. NOTE: An audible click can be heard when
the lower edge of the guide arm cover is
correctly located.
Starting at the front of the roof opening
panel, install the roof opening panel guide
arm covers (left-hand side shown).
1. Install the upper clip.
2. Install the lower clip.
TIE39806
1
2
G296325en
501-17-
18
Roof Opening Panel
501-17-
18
REMOVAL AND INSTALLATION