Ford E-150 (2011 year). Manual - part 17


  Index      Ford     Ford E-150 - service manual 2011 year in english


Search            


Content   ..  15  16  17  18   ..


Ford E-150 (2011 year). Manual - part 17


UPFITTER CONTROLS (IF EQUIPPED)

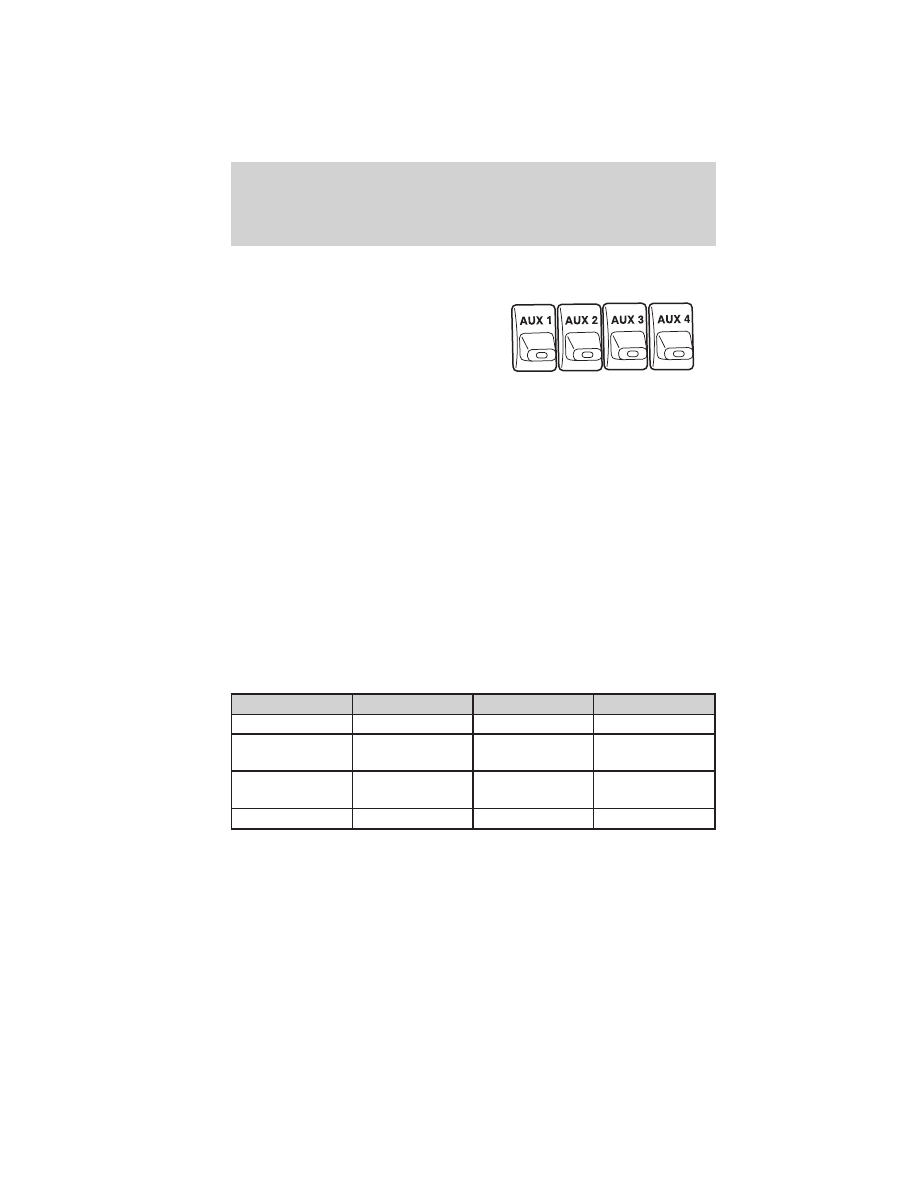
Your vehicle may be equipped with
the Upfitter option package which
will provide four switches, mounted
in the center of the instrument
panel, labeled AUX 1, AUX 2, AUX 3
and AUX 4. These switches will only
operate while the ignition is in the
on position, whether the engine is
running or not. It is, however, recommended that the engine remain
running to maintain battery charge when using the Upfitter switches for
extended duration or higher current draws.

When switched on by the operator they provide 10 amps, 15 amps or
30 amps of electrical battery power for a variety of personal or
commercial uses.

If your vehicle is equipped with this option, a relay/fuse kit will be
included. This kit contains the required fuses and relays that need to be
installed into the Power Distribution Box located under the hood. Refer
to the instruction sketch included in the kit and Fuses and Relays in
the Roadside Emergencies chapter. See your authorized dealer for
service.

There will also be one power lead for each switch found as a blunt-cut
and sealed wire located in the underhood cowl shield above the engine
block PCM.

They are coded as follows:

Switch

Circuit number

Wire color

Fuse

AUX 1

CAC05

Yellow

30A

AUX 2

CAC06

Green with
Brown Trace

30A

AUX 3

CAC07

Violet with
Green Trace

10A

AUX 4

CAC08

Brown

15A

More detailed information about Upfitter switches can be found at
https://www.fleet.ford.com/truckbbas/.

Driver Controls

70

POSITIVE RETENTION FLOOR MAT (IF EQUIPPED)

WARNING: Do not install additional floor mats on top of the
factory installed floor mats as they may interfere with the

accelerator or the brake pedals.

Position the floor mat so that the
eyelet is over the pointed end of the
retention post and rotate forward to
lock in. Make sure that the mat does
not interfere with the operation of
the accelerator or the brake pedal.
To remove the floor mat, reverse the
installation procedure.

Driver Controls

71

KEYS

The key operates all locks on your vehicle. You should always carry a
second key with you in a safe place in case you require it in an
emergency.

If your vehicle is equipped with the SecuriLock

威 Passive Anti-theft

system, your keys are electronically coded to your vehicle; using a
non-coded key will not permit your vehicle to start. If you lose your
dealer supplied keys, replacement keys are available through your
authorized dealer.

POWER DOOR LOCKS (IF EQUIPPED)

Press control to unlock all doors.

Press control to lock all doors.

Memory lock

If you lock your doors with the power lock switch or the remote
transmitter while the sliding door is open, the door will automatically
lock after it is closed.

Autolock feature

Note: Your vehicle comes with the autolock feature disabled.

The autolock feature will lock all the doors when:
• all the doors are closed,
• the ignition is in the on position,
• you shift into any gear putting the vehicle in motion, and
• the vehicle attains a speed greater than 12 mph (20 km/h) for greater

than two seconds.

Locks and Security

72

The autolock feature repeats when:
• any door is opened then closed while the ignition is in the on position

and the vehicle speed is 9 mph (15 km/h) or lower, and

• the vehicle then attains a speed greater than 12 mph (20 km/h) for

greater than two seconds.

Deactivating/activating autolock feature

Your vehicle comes with the autolock feature disabled; there are three
methods to enable/disable this feature:
• Through your authorized dealer, or
• by using a power door unlock/lock procedure, or
• by using the instrument cluster message center (if equipped). Refer to

Message center in the Instrument Cluster chapter.

Note: The autolock feature can be activated/deactivated independently
of the autounlock feature.

Power door lock switch autolock enable/disable procedure

Before starting, ensure the ignition is in the off position and all vehicle
doors are closed. You must complete Steps 1–5 within 30 seconds or the
procedure will have to be repeated. If the procedure needs to be
repeated, wait a minimum of 30 seconds before beginning again.

1. Place the key in the ignition and turn the ignition to the on position.

2. Press the power door unlock
control on the door panel three
times.

3. Turn the ignition from the on
position to the off position.

4. Press the power door unlock
control on the door panel three
times.

5. Turn the ignition back to the on position. The horn will chirp one time
to confirm programming mode has been entered and is active.

6. To enable/disable the autolock feature, press the unlock control, then
press the lock control. The horn will chirp once if autolock was
deactivated or twice (one short and one long chirp) if autolock was
activated.

7. Turn the ignition to the off position. The horn will chirp once to
confirm the procedure is complete.

Locks and Security

73


Content   ..  15  16  17  18   ..